-
Acrylic Markers
I absolutely love my acrylic markers—they’re a total game changer! 🎨✨ There’s no fuss with getting out my brushes, preparing my work area or bothering with any clean up. I grab my box of markers and have a seat where my heart desires and I can get started right away. They work on almost any surface: paper, metal, glass, plastic, wood, ceramic, styrofoam, rubber—you name it! I even tried them on fabric (though there was a bit of bleeding).
I use them all the time for labeling my kids’ lunch boxes, water bottles, Tupperware, and school supplies—and, of course, for my artwork. 🎨🖌️
Choosing the Right Paper for Acrylic Markers
While they work well on paper, the type of paper matters. Some papers can be too absorbent, causing them to drink up the paint quickly and wear down markers faster. If the paper gets too wet or is overworked, it can also become clumpy.
The best choices for acrylic markers:
✔ Marker paper – Smooth, less absorbent, and designed to handle ink well.
✔ Yupo paper – Works beautifully, allowing for smooth, vibrant applications.
✔ Photo paper (film?) – Also gives great results with a glossy, slick surface.Papers to avoid:
❌ Sketching paper – My last choice, as it’s often too textured and absorbs too much paint.Acrylic Marker Tips & Best Practices
Acrylic markers come in a variety of tips: fine, medium, large, chiseled, and brush tips. Quality varies by brand, and I can confidently say that Posca acrylic markers are my go-to. Their color application is immediate, while some other brands require a frustrating amount of priming before the paint flows consistently. This can waste paint much faster.
✔ Shake well before use—most markers contain a mixing ball inside, like nail polish, to blend the paint.
✔ First-time use? Press the nib once with your thumb to release air pressure.
✔ Activate the flow: After shaking for 20 seconds, press the nib on your surface several times until the paint starts to absorb and flow.
✔ Repeat this process each time you use the marker—otherwise, the nib dries out.What if the nib gets clogged or damaged?
No worries! If the nib dries out or becomes blocked, you can remove it and rinse it under warm water. Just make sure it’s completely dry before using it again—you don’t want to mix water with the paint! Some markers even come with spare nibs for easy replacement.
Acrylic markers are versatile, vibrant, and fun to use—whether for art, customization, or everyday labeling. If you haven’t tried them yet, you’re missing out! 🎨✨
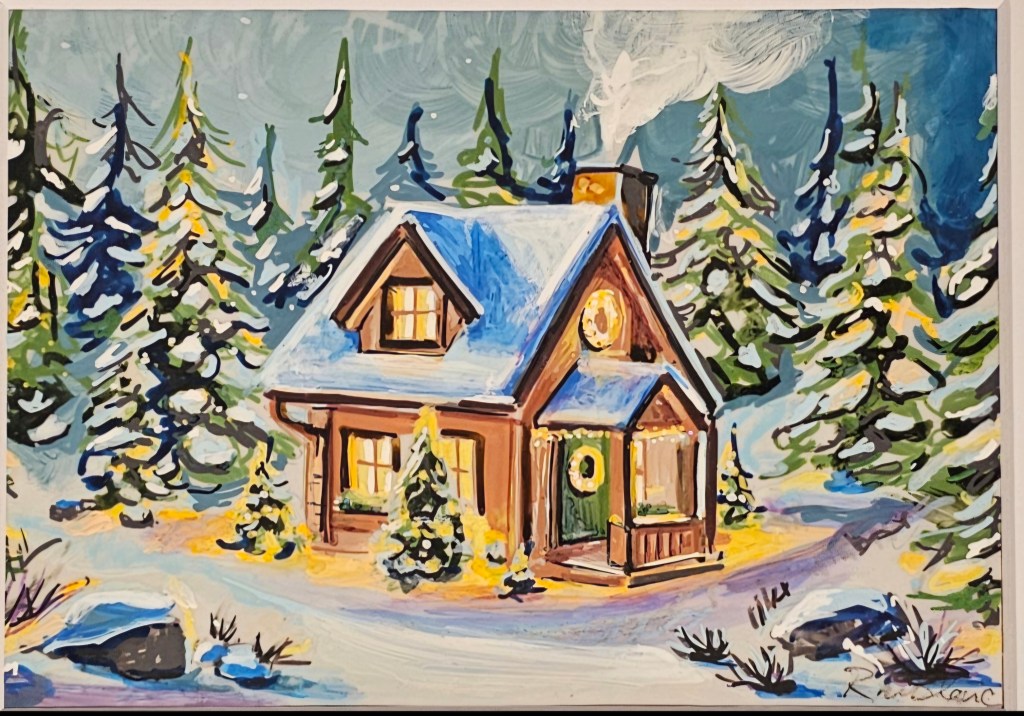
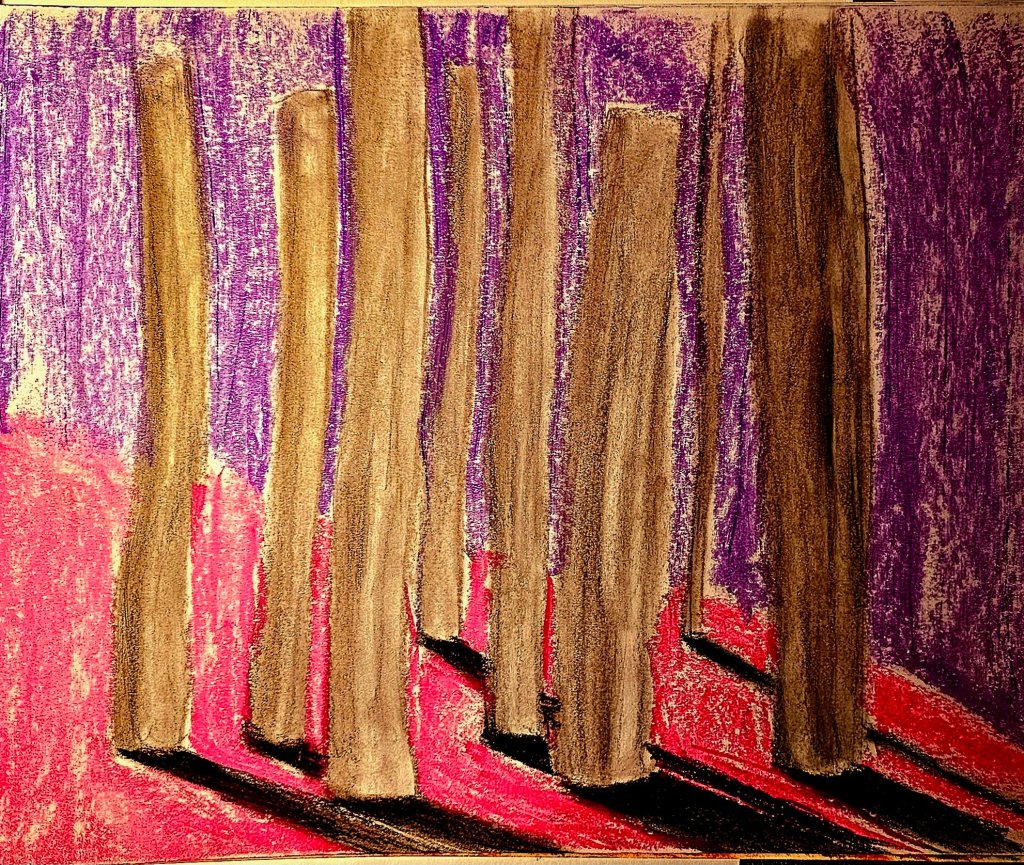
“Éclat hivernale” Éclat Hivernal (2024 Regional Christmas Card Category Winner)
This winter scene, titled Éclat Hivernal, was the regional winner in the 2024 Christmas card category. Created on 5 x 7″ Yupo paper using generic acrylic markers, this piece was all about layering and light.
Yupo’s smooth surface made the first layer a bit slippery, but once that initial base was down, it gave just the right amount of grip for additional detail and depth. At the final stage, I introduced a pale lavender alcohol ink marker to shade the snow—something I couldn’t have achieved with an opaque marker. That subtle, translucent tint gave the snow a soft, atmospheric quality, helping the warmth of the cabin glow even more against the cool landscape.
It’s a cozy, glowing tribute to winter—inviting, peaceful, and lit from within.
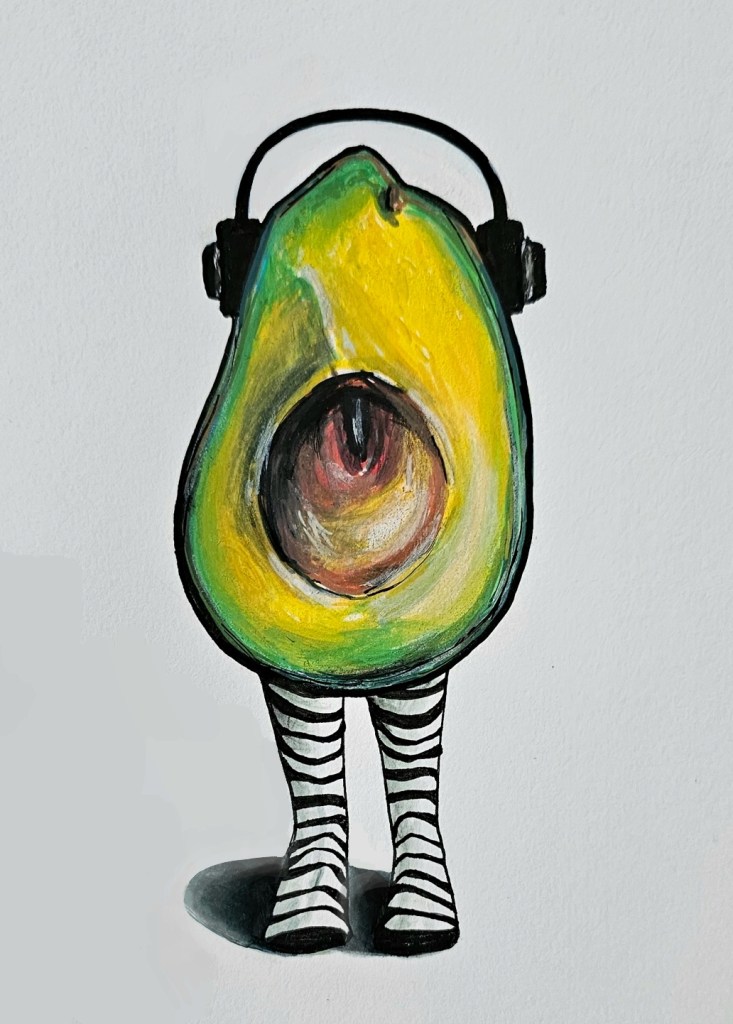
Avocado Groove
This quirky little piece was done using acrylic markers on mixed media paper, blending playful imagery with simple, bold shapes. I kept the palette vibrant, layering the acrylics slowly to build depth and contrast—especially around the pit and outer skin.
For the subtle shadow under the legs, I used a very pale grey alcohol ink marker. It gave just the right hint of grounding without overpowering the image—something that would have been harder to achieve with an opaque marker.
The striped legs and headphones add a touch of personality without taking things too seriously. It was one of those lighthearted pieces that came together on instinct, and I let the process stay loose and fun throughout.
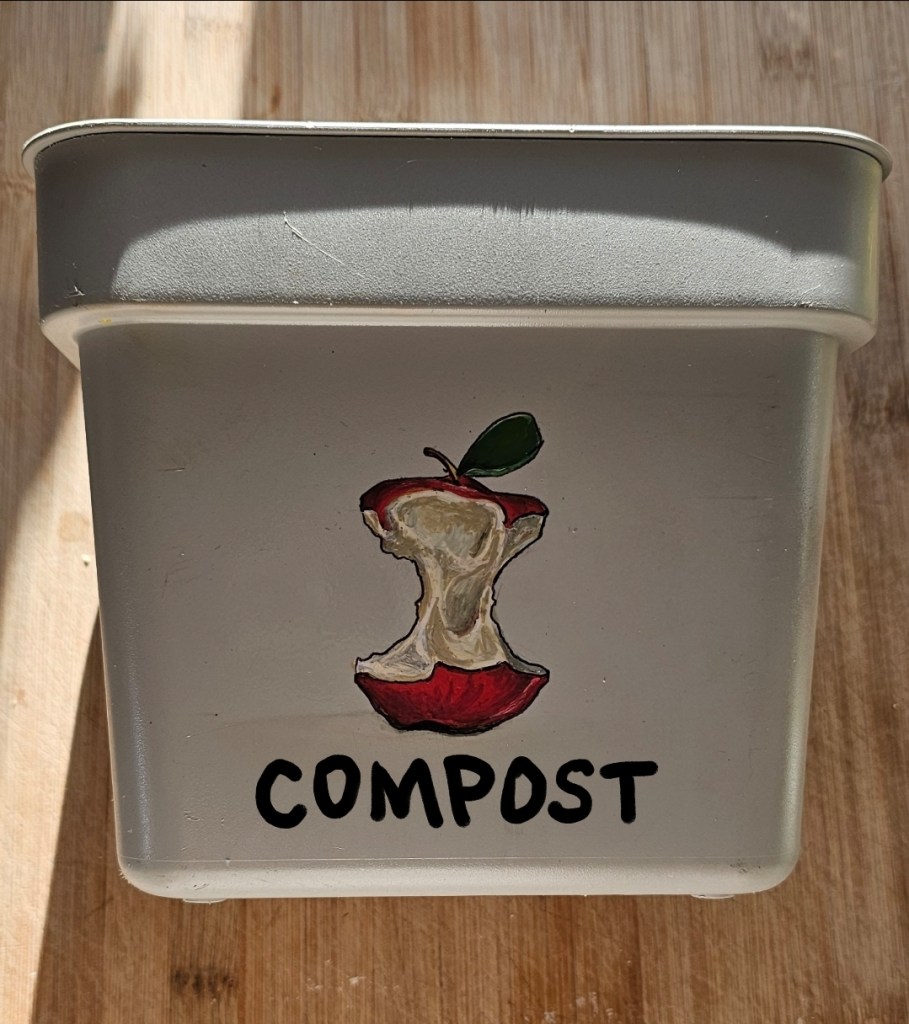
Compost Bin Here’s an example of using the paint markers on a plastic surface. I love transforming everyday house items into something a little more special. Since I’ll be handling the bin often and washing it when it gets dirty, I made sure to seal the design with a clear spray. Here, I used high gloss spray from Rustoleum. I have about 4 coats of spray on it. It’s been over 2 years since I’ve made this, and it’s still in perfect condition!
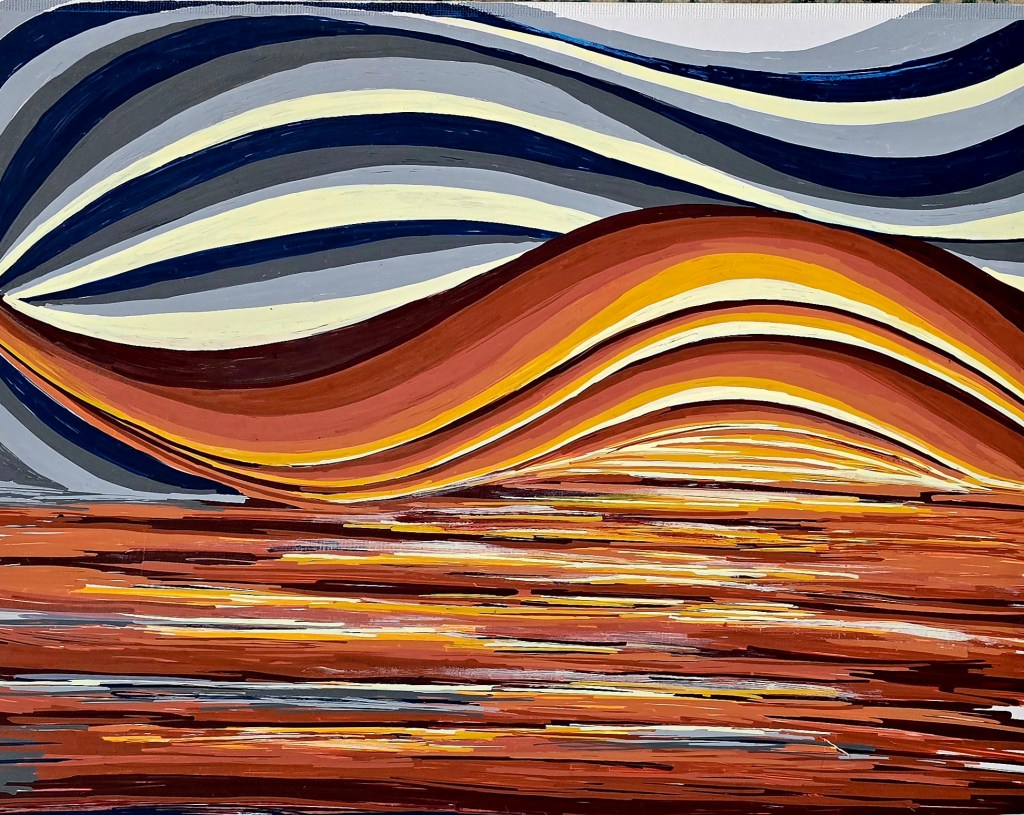
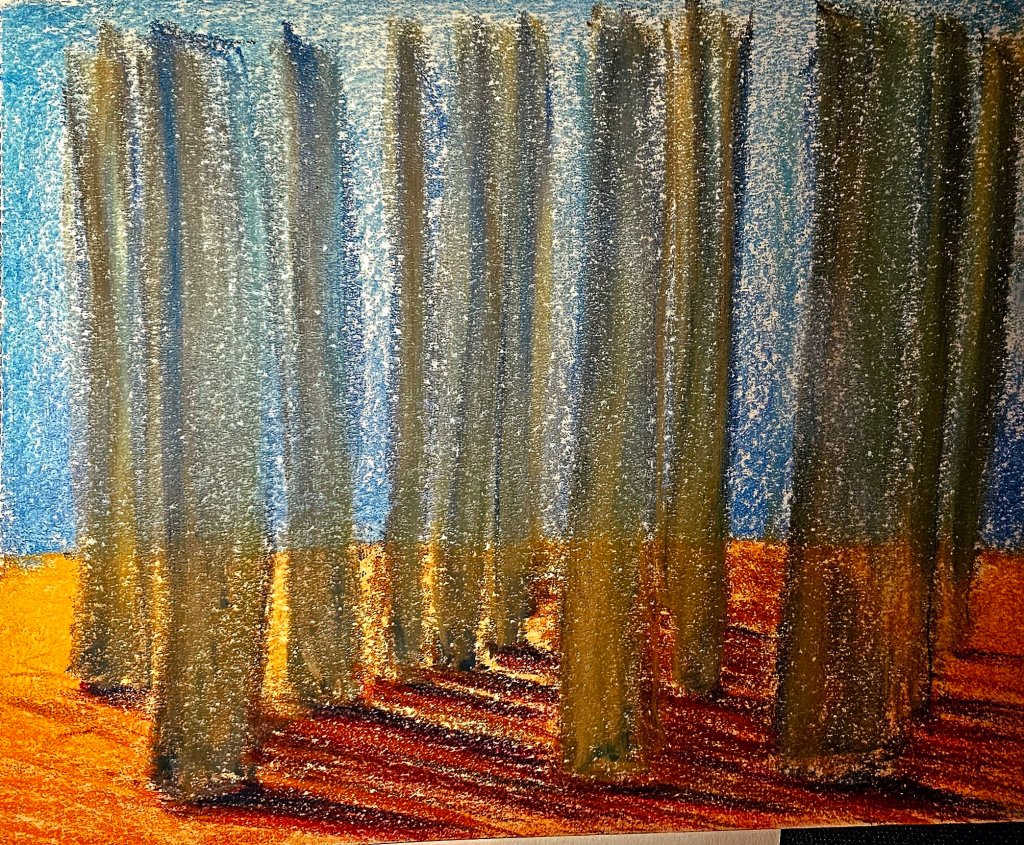
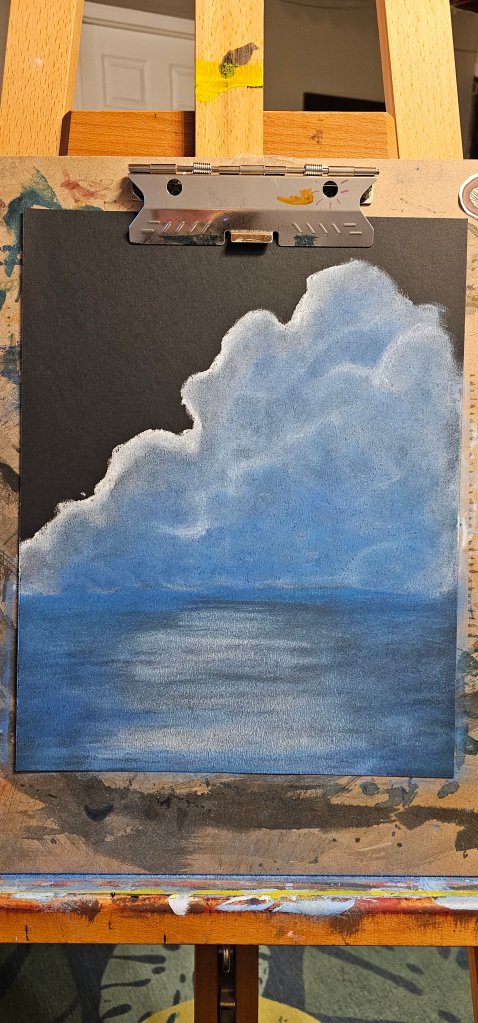
“Skywoven”
This piece was created using acrylic markers on the reverse side of a thin Dollarama canvas panel—a surprisingly effective choice due to its slightly glossy surface, which allowed the markers to glide smoothly and blend beautifully.
Layer by layer, the lines evolved into a rhythm that hints at landscape, light, and motion all at once. The warm tones in the lower half mimic reflections or terrain, while the sweeping curves above suggest a stylized sky in movement.
There was no plan going in—just a color palette and a need to follow the flow of each stroke. The surface took the pigment effortlessly, making this one of those pieces where the medium seemed to cooperate completely.
This was a spontaneous exploration of form through repetition—a meditative, abstract wave of line, light, and warmth.
-
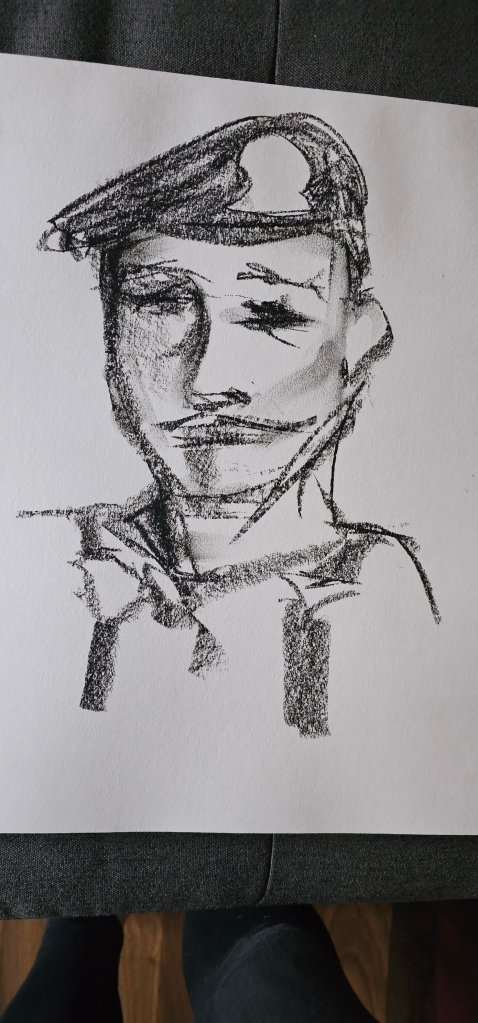
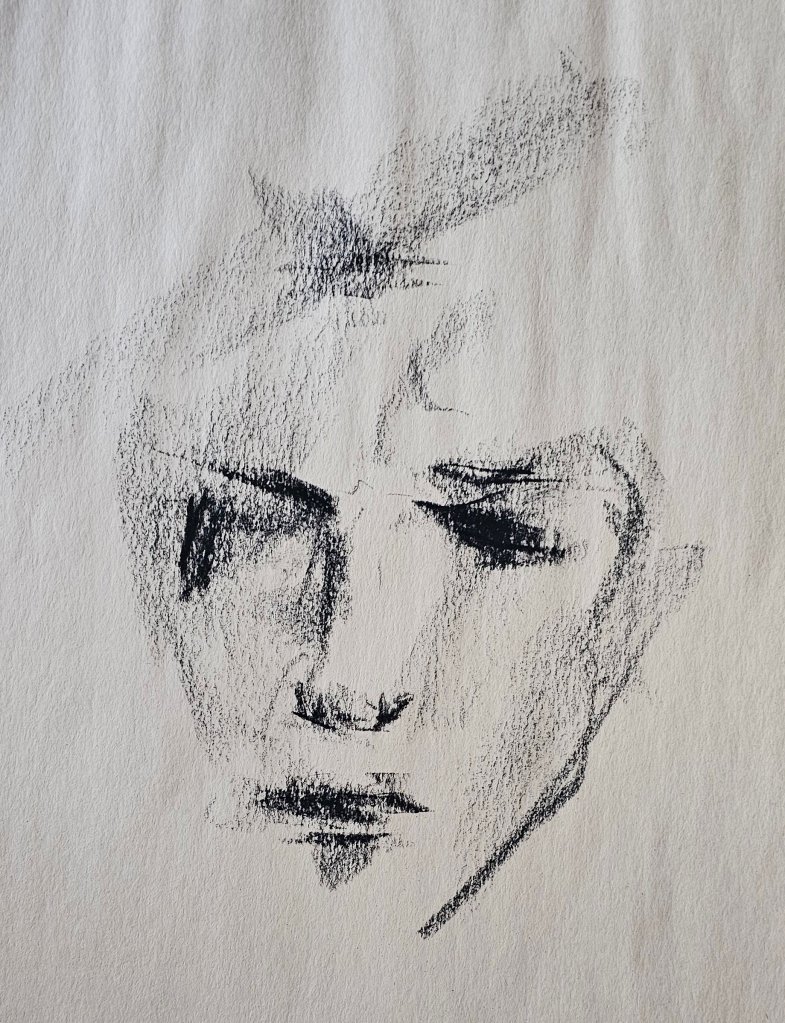
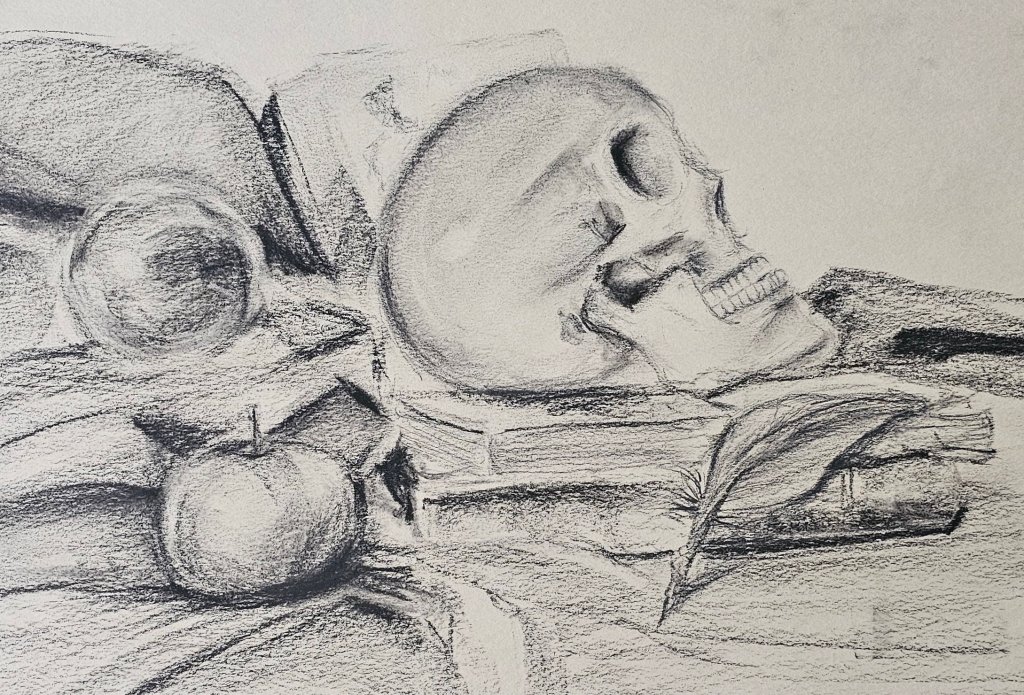
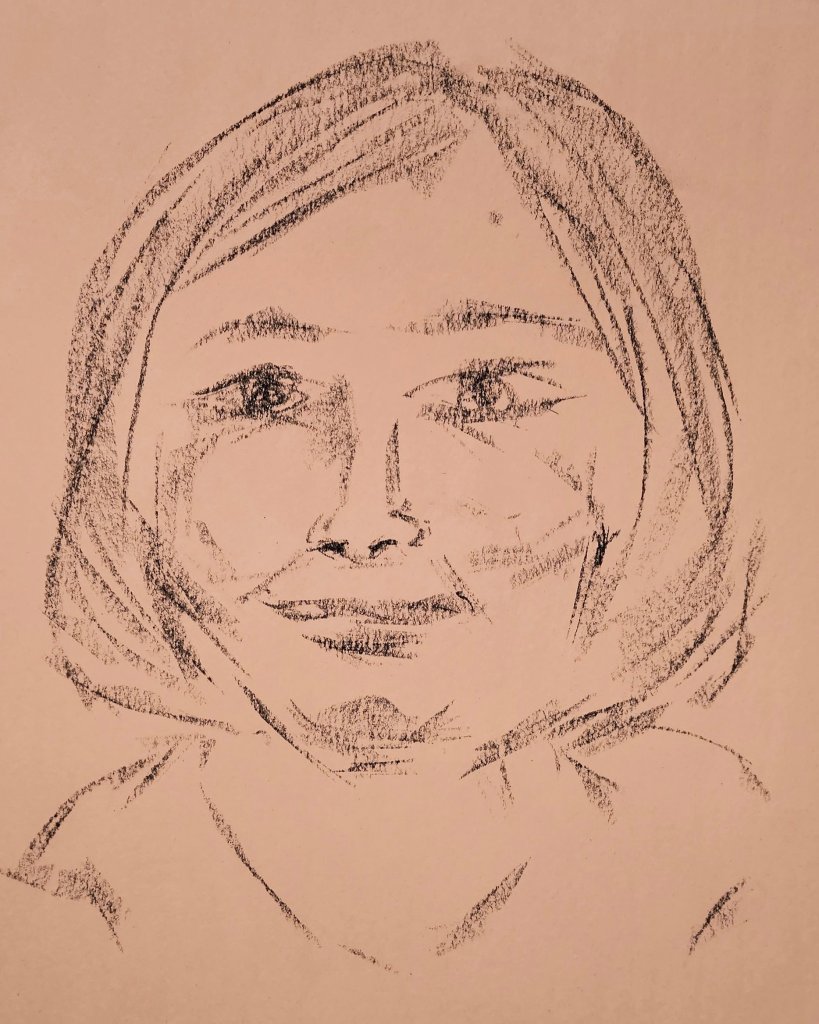
Exploring Sanguine Pencil Techniques

Sanguine: Drawing with Earth and Emotion
There’s something grounding and quietly powerful about drawing with sanguine pencil. The medium itself—born from iron oxide-rich clay—has been used by artists for centuries. It brings a warmth and weight that graphite simply can’t offer, and a kind of emotional resonance that makes it ideal for organic, expressive work.
I’ve primarily used sanguine pencil, which gives a bit more control than the softer sanguine stick or powdered versions. On most of these pieces, I used manilla or mixed media paper, both of which provide just enough tooth to hold the pigment without becoming too absorbent. For more refined work, I’d recommend toned paper with a smooth vellum surface or even pastel paper for deeper layering and blending.
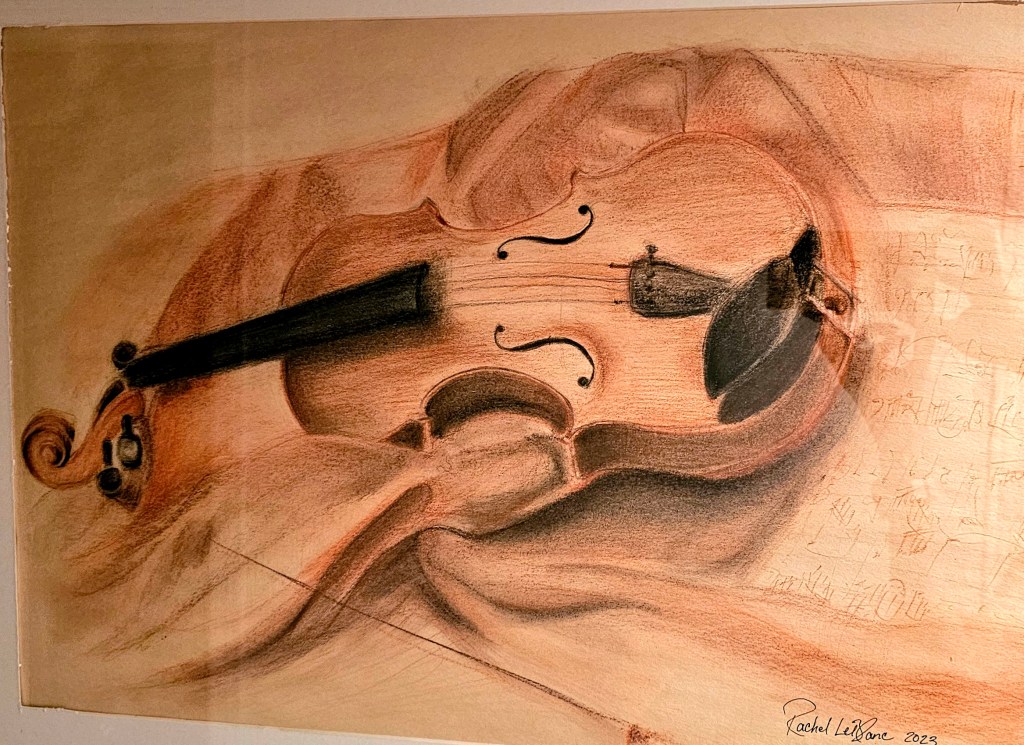
One of my favorite combinations is sanguine with black charcoal pencil. That contrast allows for more dramatic shadows and detail, while still keeping the overall tone warm and cohesive. In my violin head sketch, I used the charcoal pencil to deepen the interior spiral and tuning peg, while allowing the sanguine to create form and flow along the curves.
✍️ Technical Notes & Tips for Beginners
- Layer gradually. Sanguine builds best in light stages—press too hard, and it becomes muddy.
- Blend with care. I use my fingers and a blending stump interchangeably, but a kneaded eraser is essential for lifting highlights and softening edges.
- Sharpen frequently. The pencil tip dulls quickly, so keeping it sharp allows for better line variation and detail.
- Recommended brands: My go-tos are Conté à Paris and Cretacolor. They both offer reliable pigmentation and consistency.
- Pairing tip: Try using it alongside sepia or white chalk on toned paper for added dimension.
🎨 The Art & Its Process
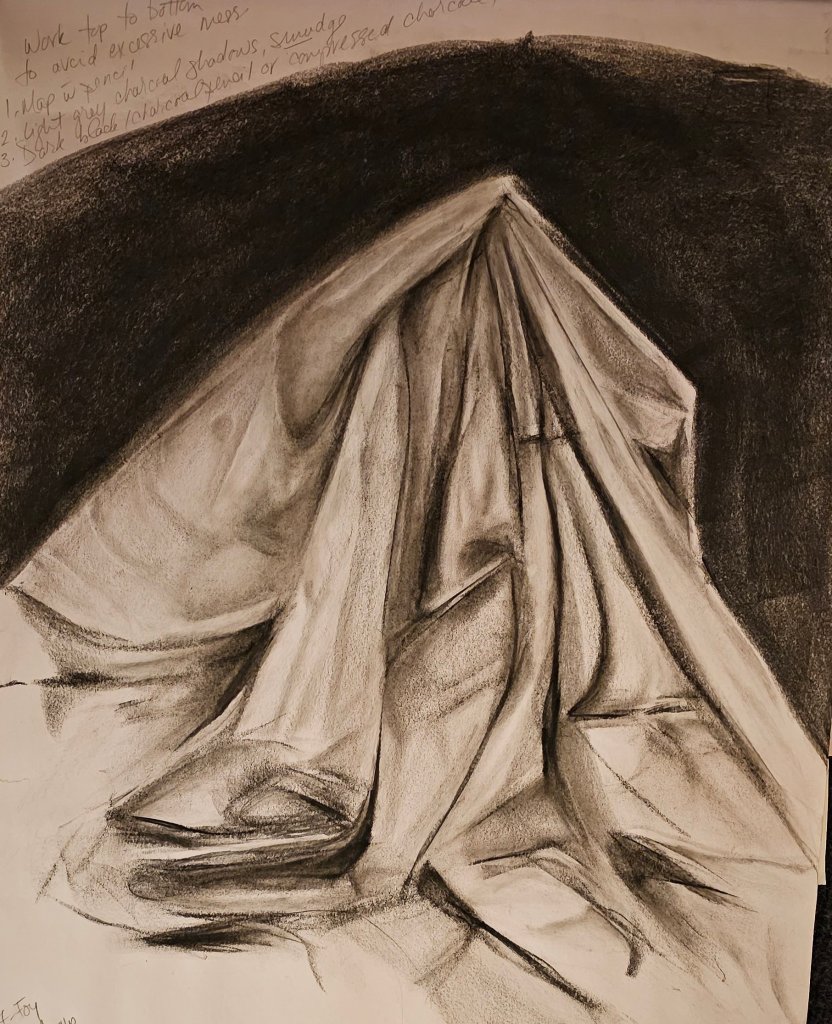
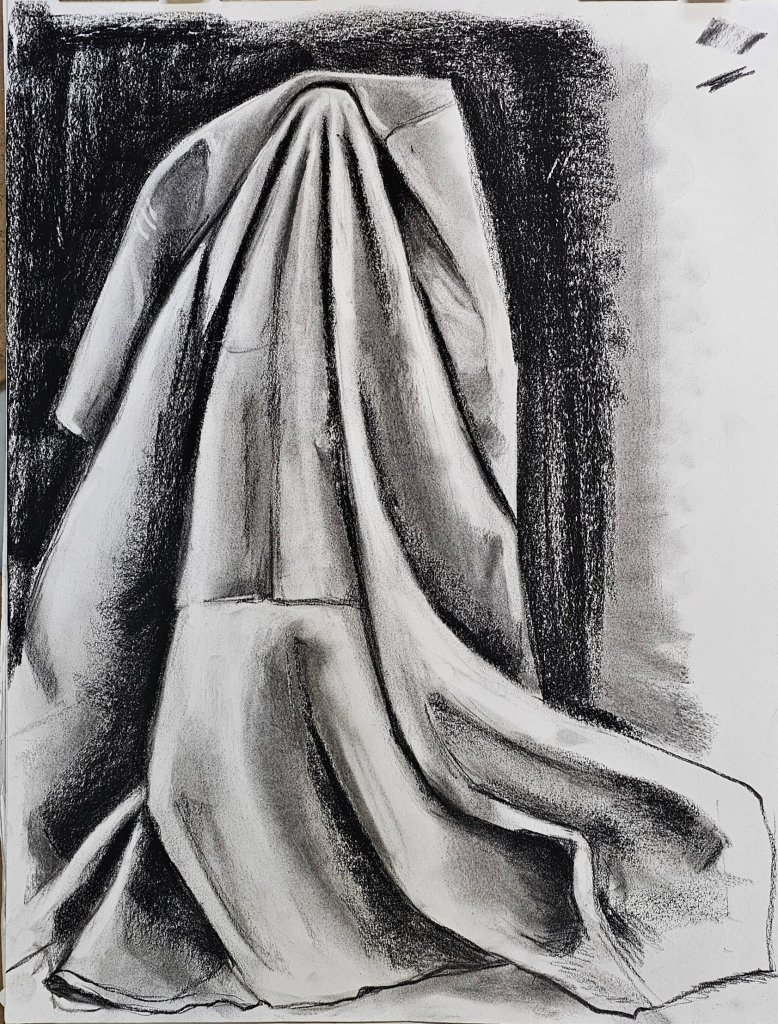
I often begin with a light contour sketch, keeping pressure minimal. I map out shadows first—especially in rounded forms like apples or violin bodies—and slowly layer in midtones and highlights. The violin on draped cloth was a full composition that required patience, especially in building the folds and creating the illusion of depth without overwhelming the paper.
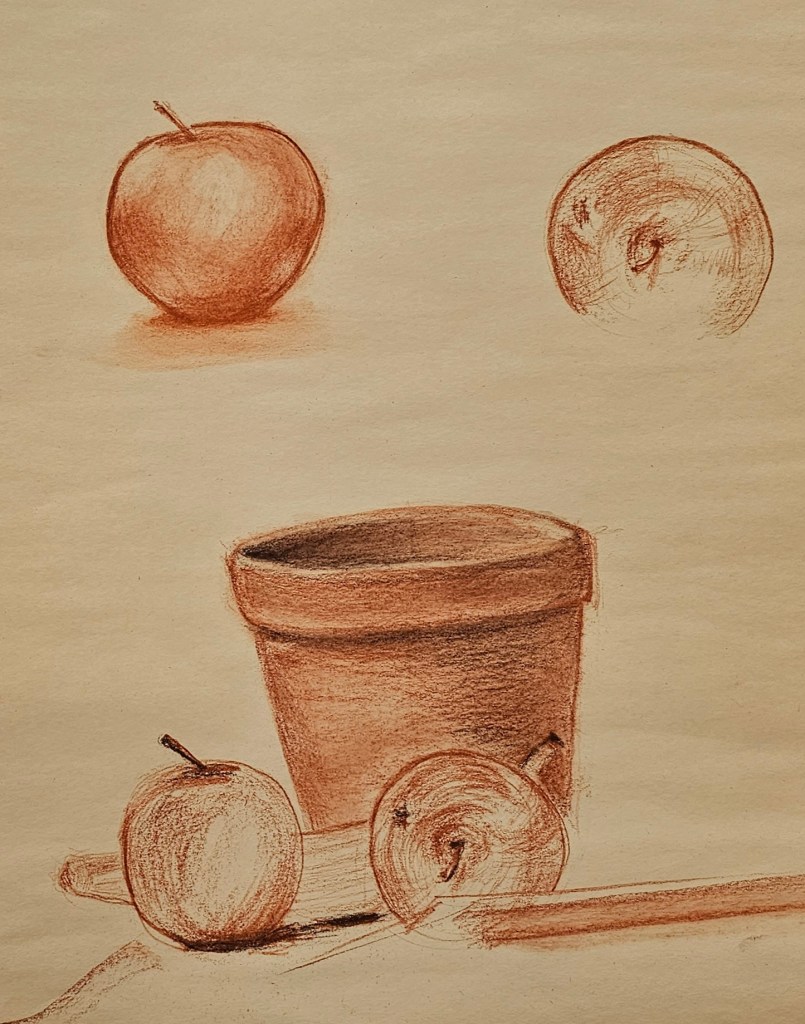
My still life with the terra cotta pot and fruit was an exercise in temperature and texture—the porous feel of the pot versus the smoother skin of the apples. Sanguine handled both with grace.
🧱 A Bit of History
Sanguine has roots in Renaissance drawing, where it was often used for figure studies, portraits, and anatomical sketches. Artists like Leonardo da Vinci, Michelangelo, and Jean-Auguste-Dominique Ingres relied on its expressive tone to render form, gesture, and warmth in their subjects. Its earthy color mimicked the human body, making it ideal for capturing subtle variations in skin tone and structure.
It’s a medium that feels honest—nothing flashy or synthetic. Just the natural grit of clay and the motion of your hand.
🗨️ Let’s Talk Art
Have you ever tried working with sanguine? What was your experience like?
Whether you’re a beginner curious about where to start, or a seasoned artist with tips of your own, I’d love to hear your thoughts. Feel free to share in the comments or ask questions—I’m happy to chat!
-
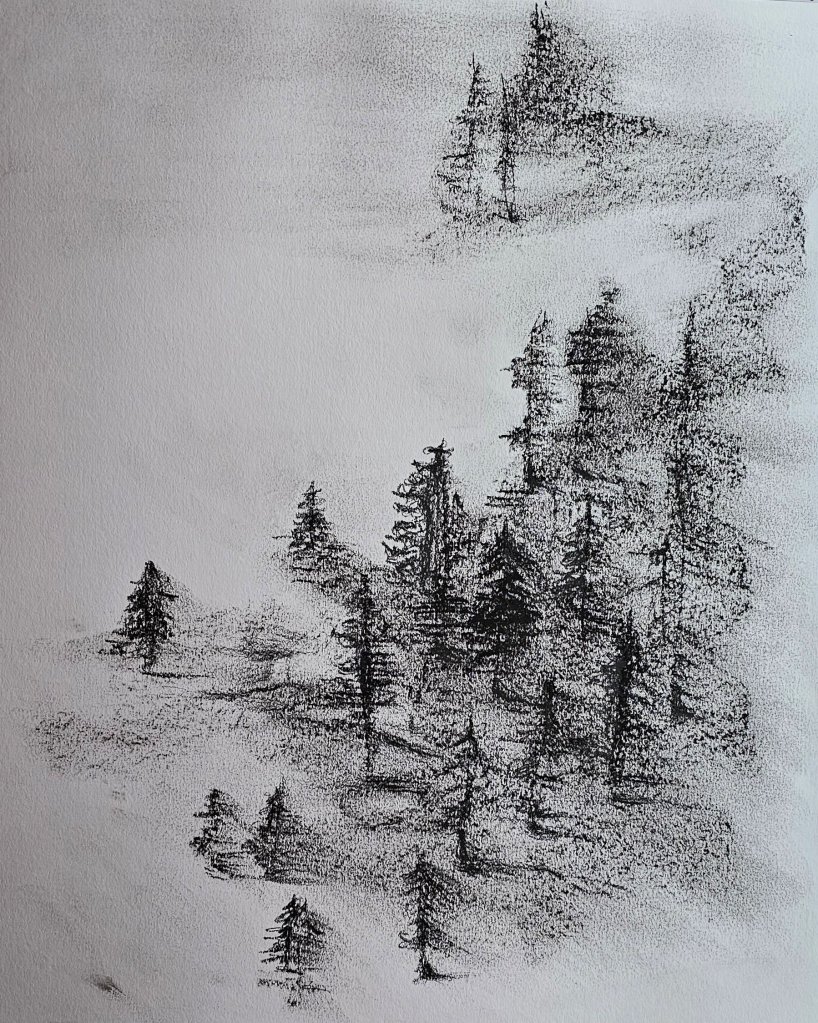
Charcoal


-
Chinese Ink
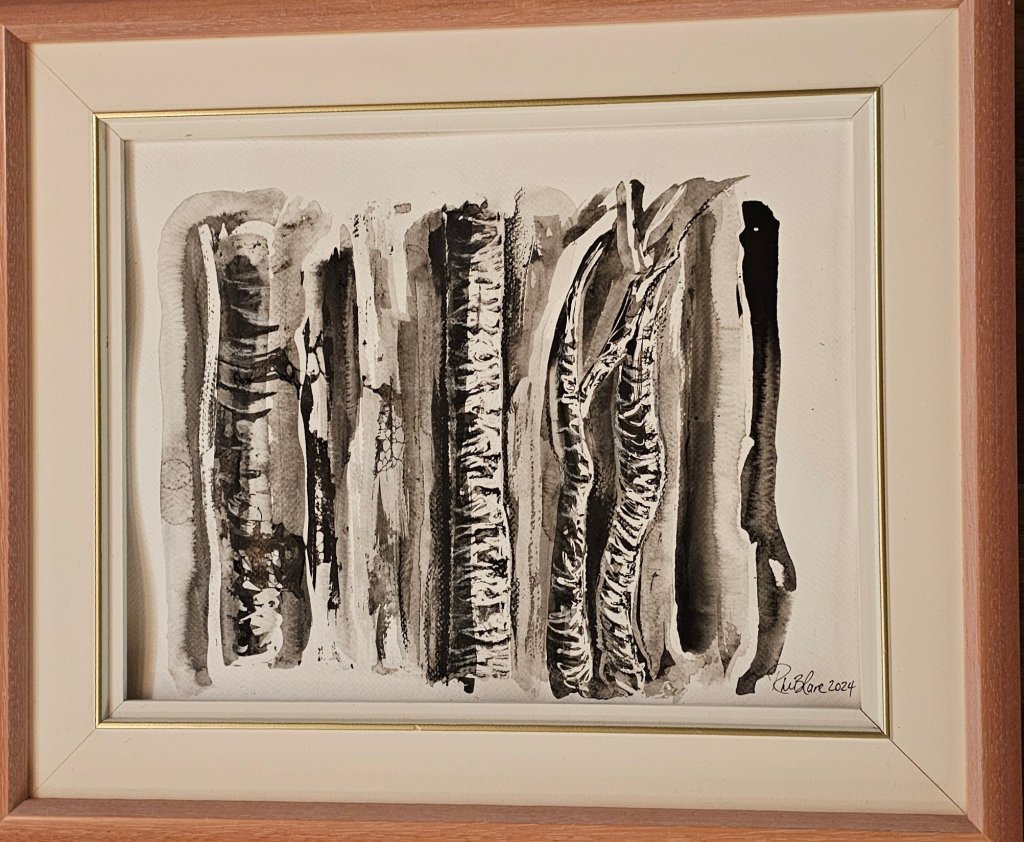
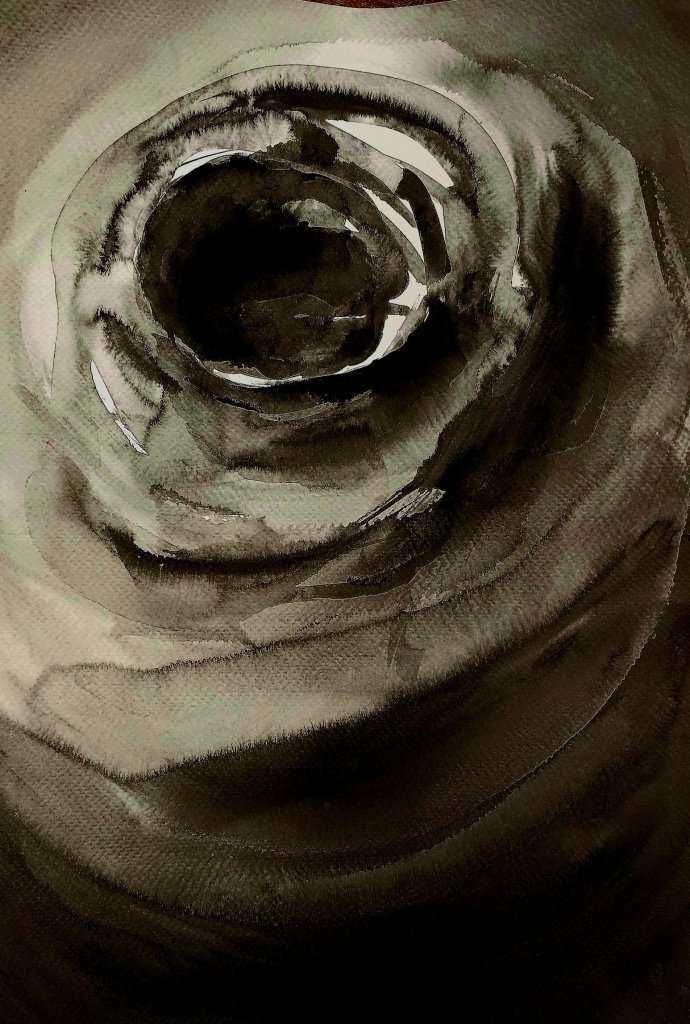
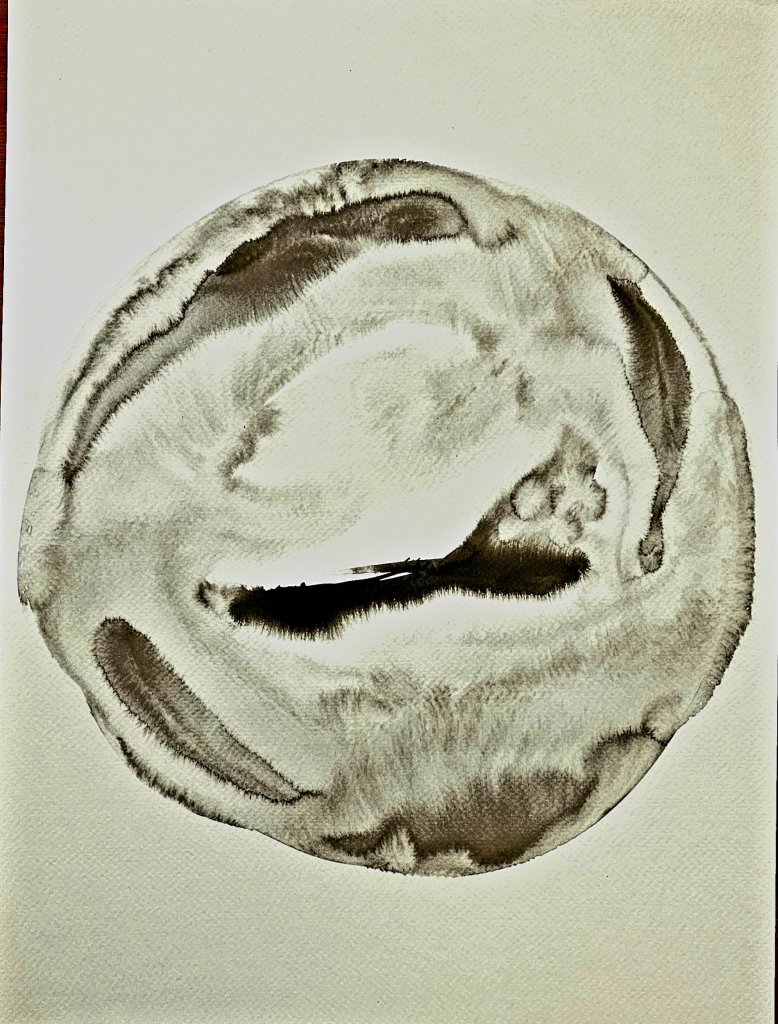
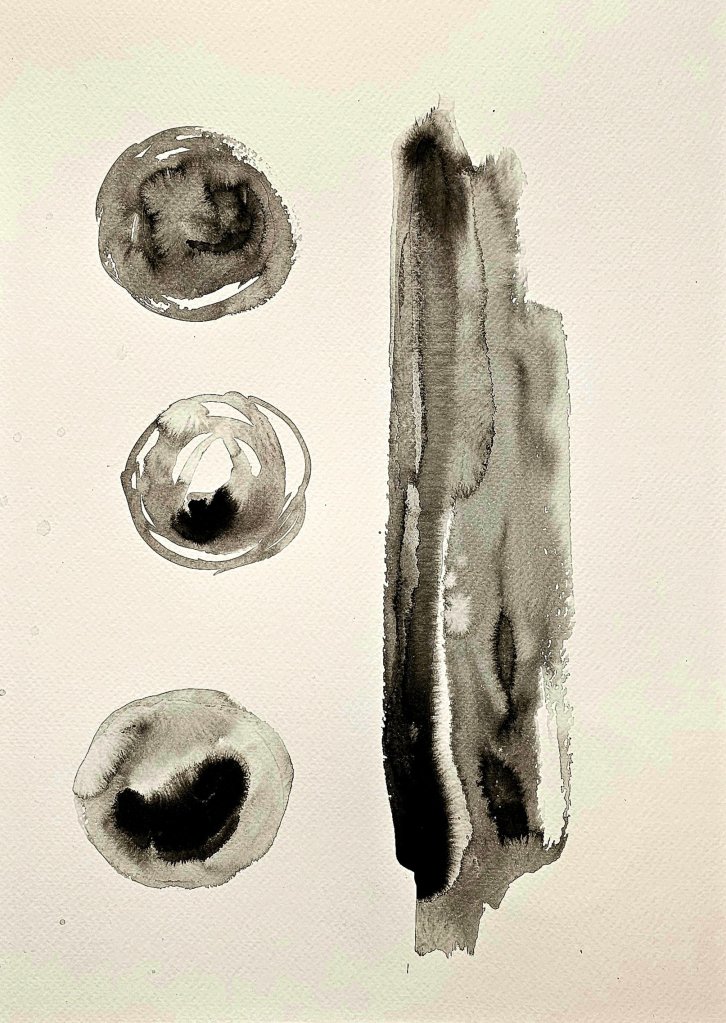
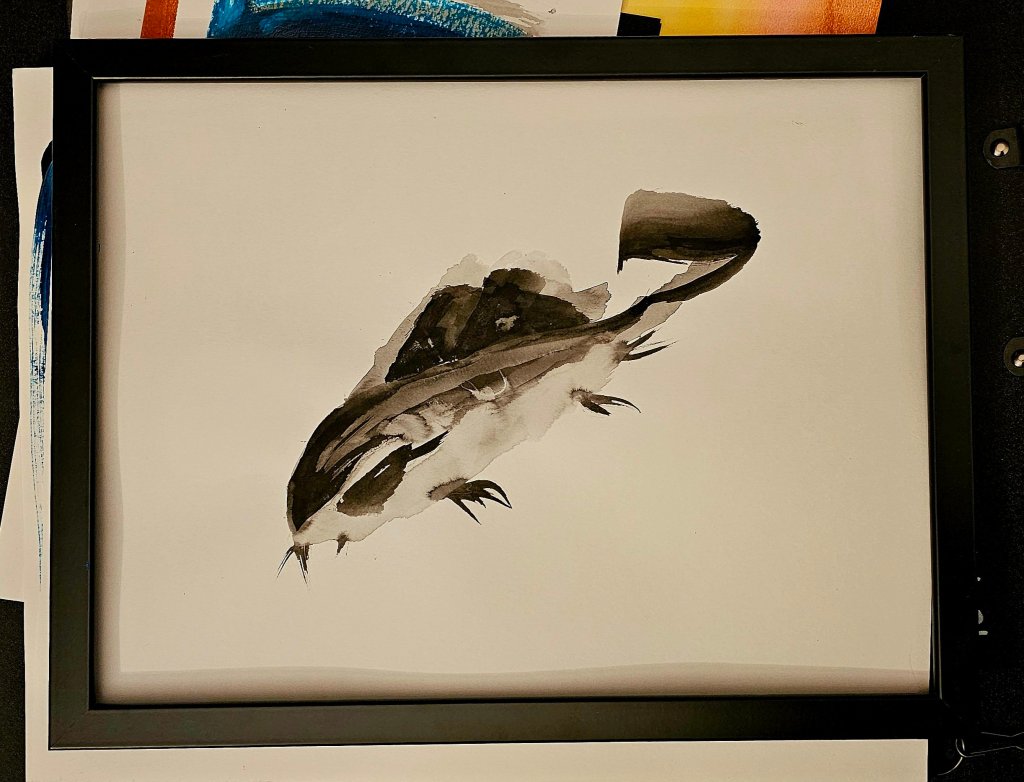
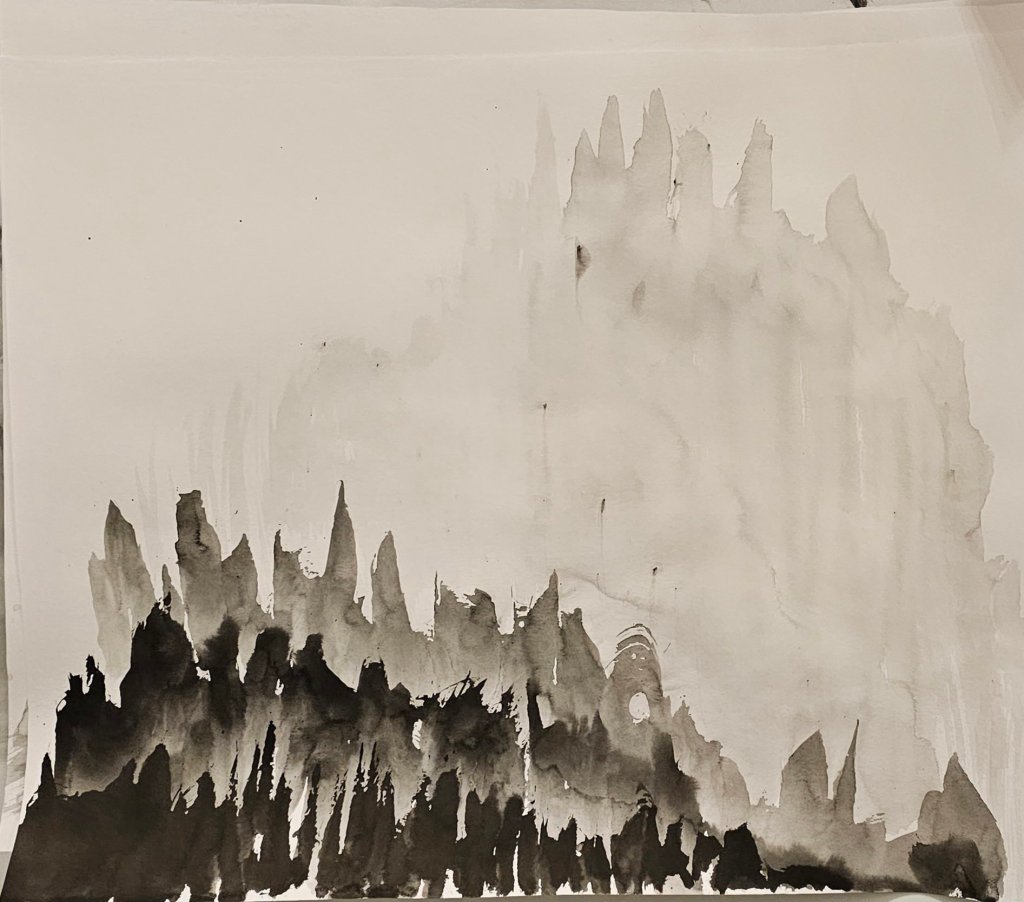
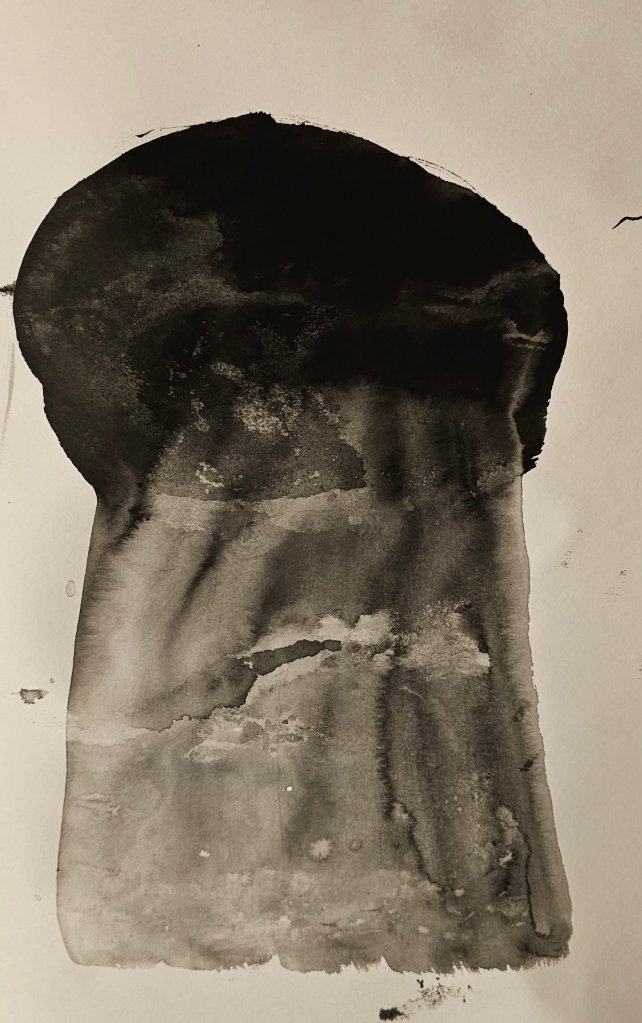
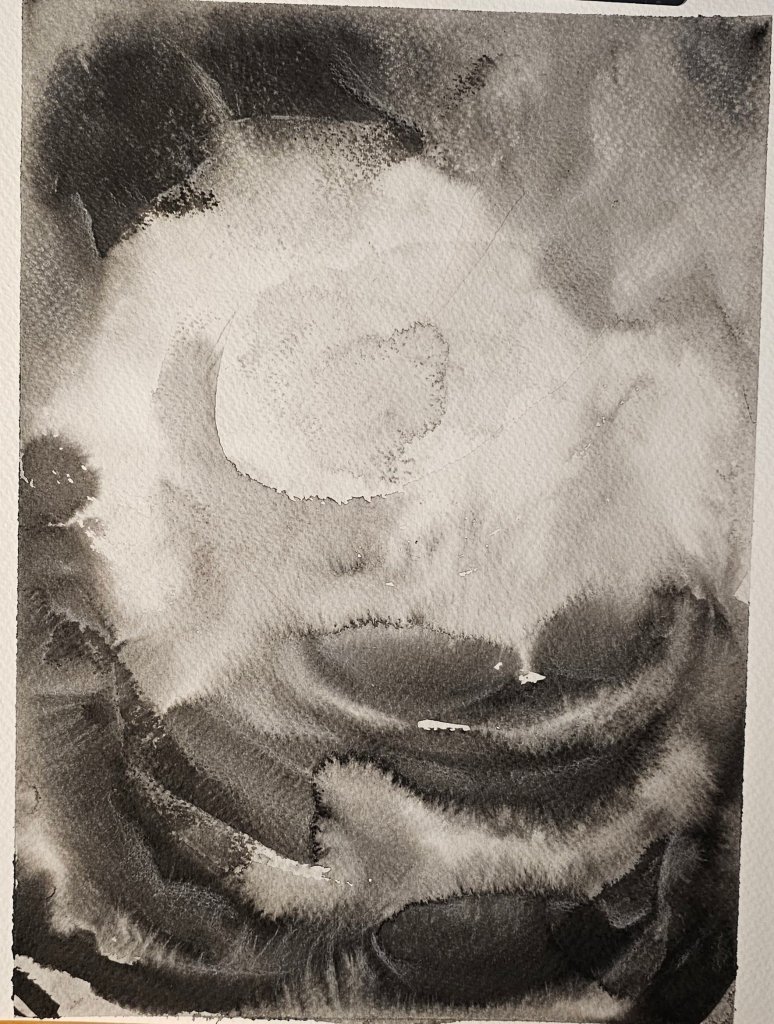
On Working with Chinese Ink
There’s something humbling about working with Chinese ink—a medium that feels both ancient and alive. It moves with elegance, but demands presence. Every drop carries weight.
I’ve used it across different surfaces—watercolour paper and mixed media paper in particular. Both respond differently to the ink’s character, but one thing remains constant: the rich, deep tone fades gently as it dries, settling into a more muted presence than when first applied. It teaches you to work not only with intention, but with acceptance. What you lay down may shift—ink settles where it chooses.
It’s also a medium that requires respect. A single spill can be permanent—I say this with experience, having lost a beloved carpet to one careless moment. The ink flows like water, but stains like memory. Handling it is almost ritualistic: steady hands, thoughtful placement, and a workspace that’s prepared for the unexpected.
What I love most is how the ink flows into thought—how it invites restraint and boldness at the same time. You don’t fight it. You move with it. Sometimes I’ll stare at a stroke and leave it just as it is, not out of hesitation, but reverence.
Working with Chinese ink is more than technique—it’s a quiet conversation with movement and contrast. Every mark is a moment captured.
Let the medium guide you. And protect your carpet. 🖤
— Rachel
-
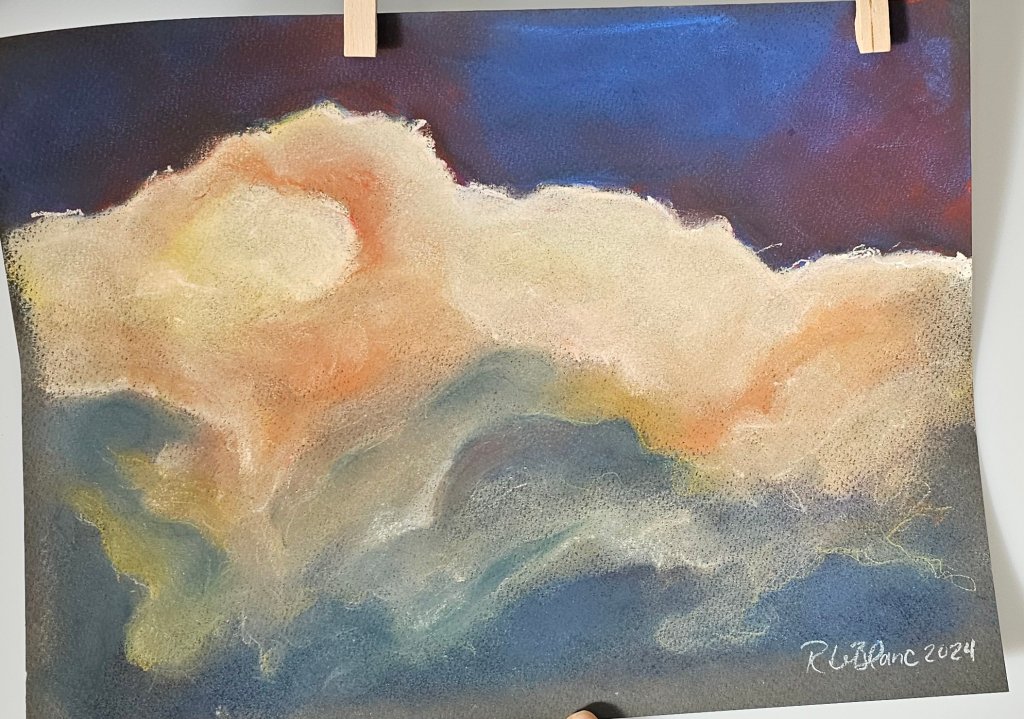
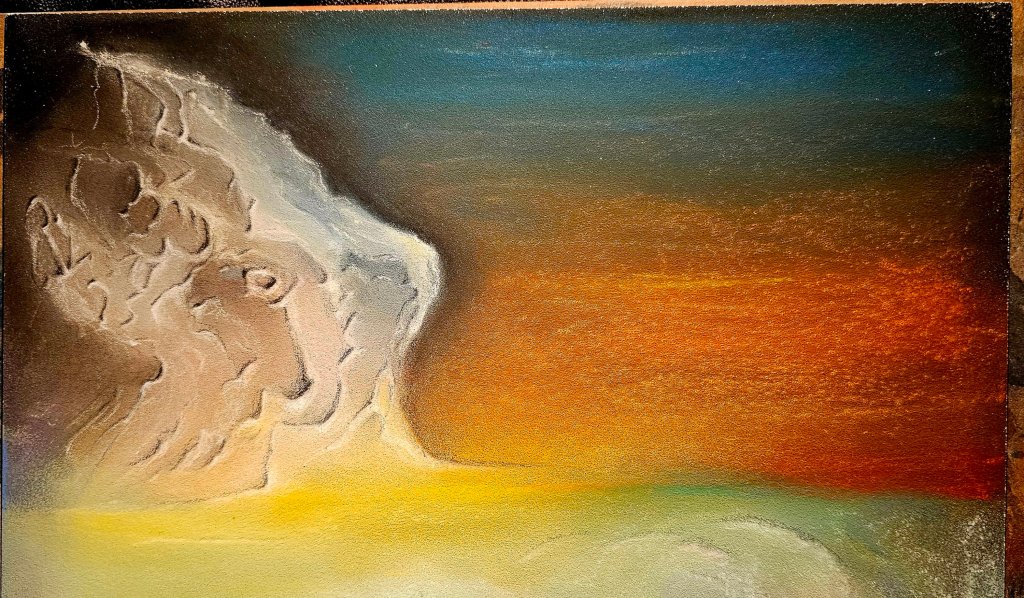
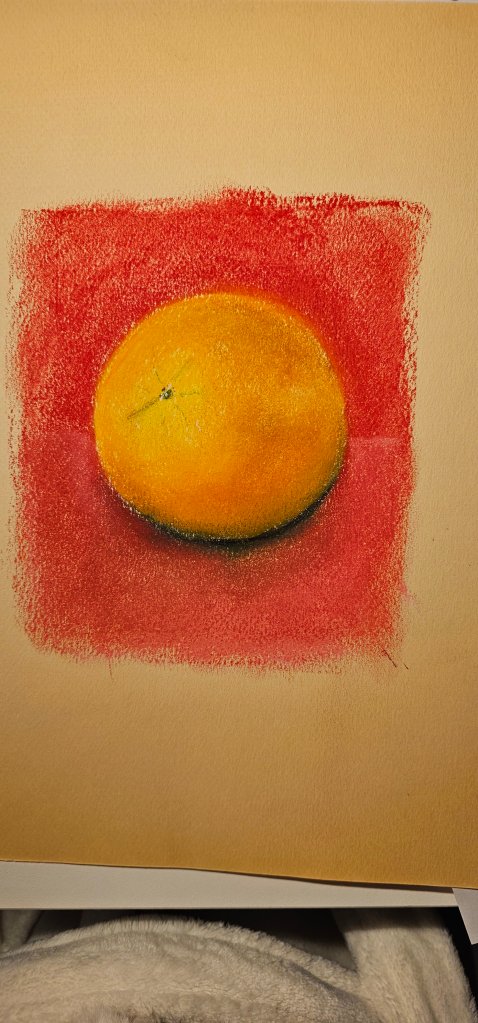
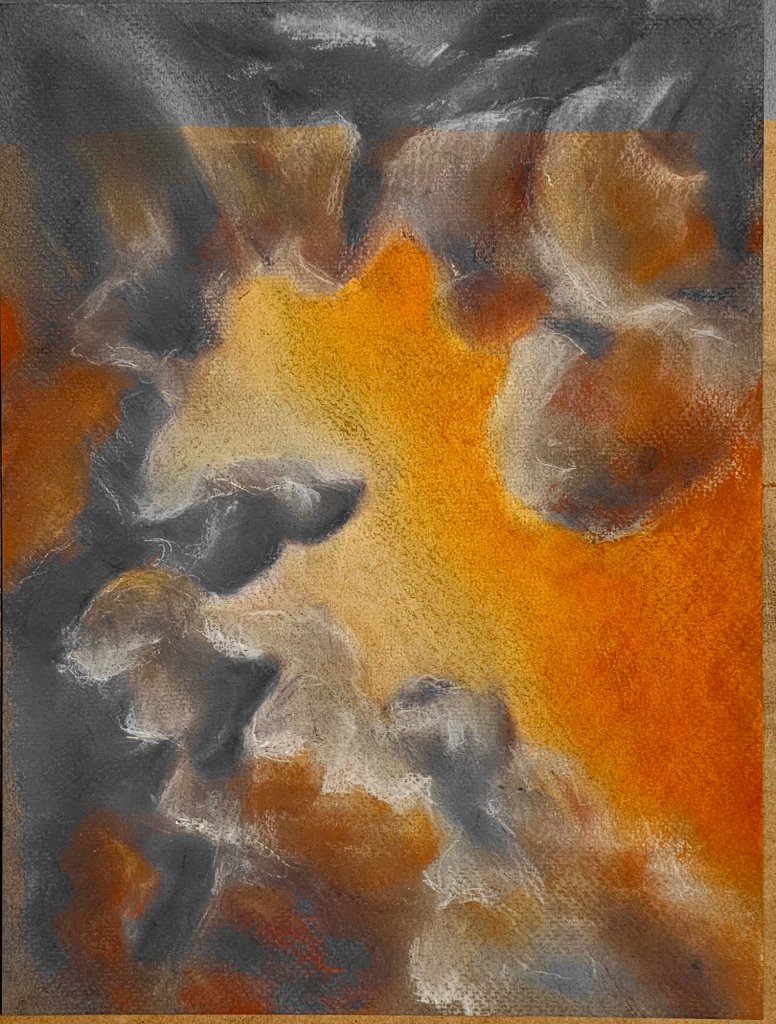
Pastels

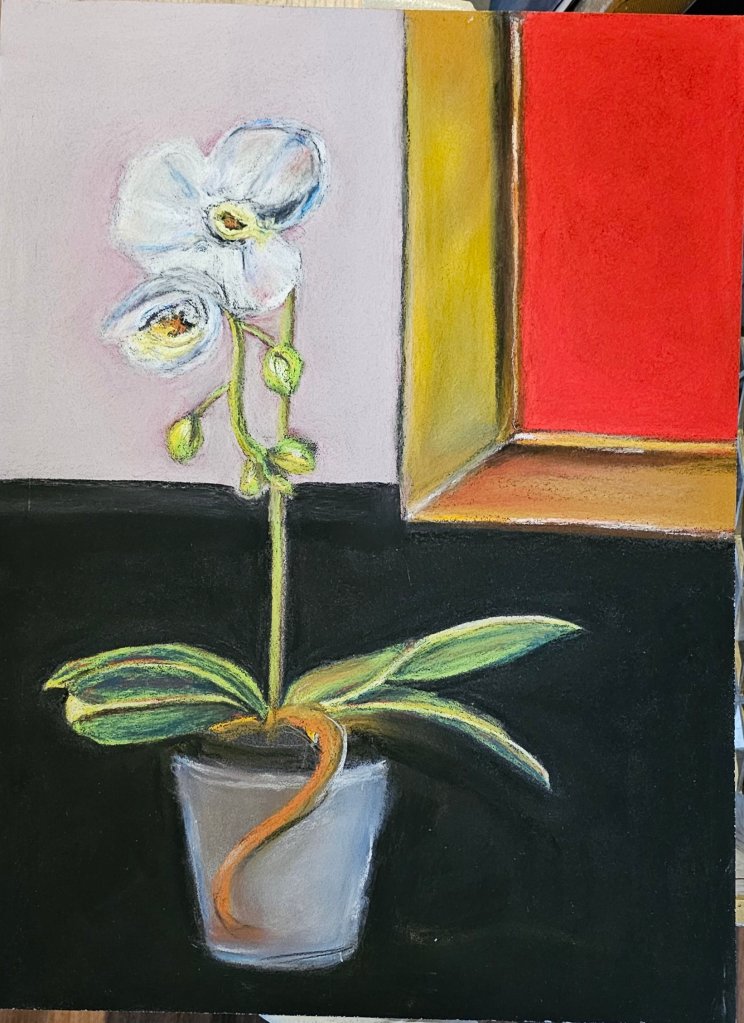
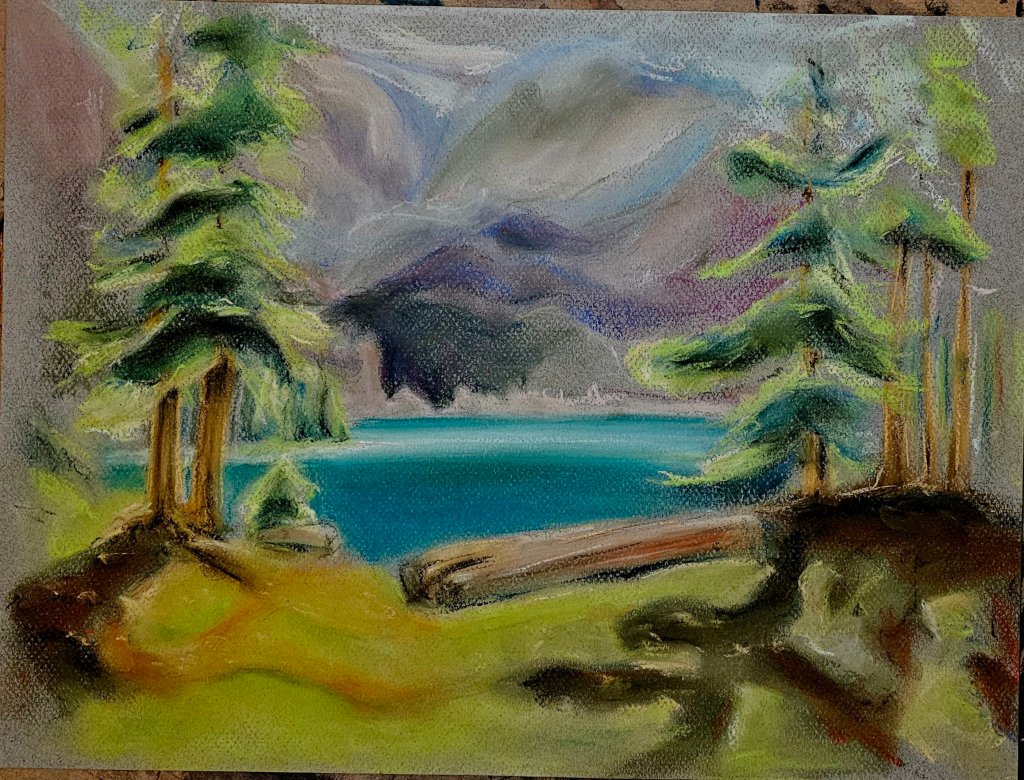
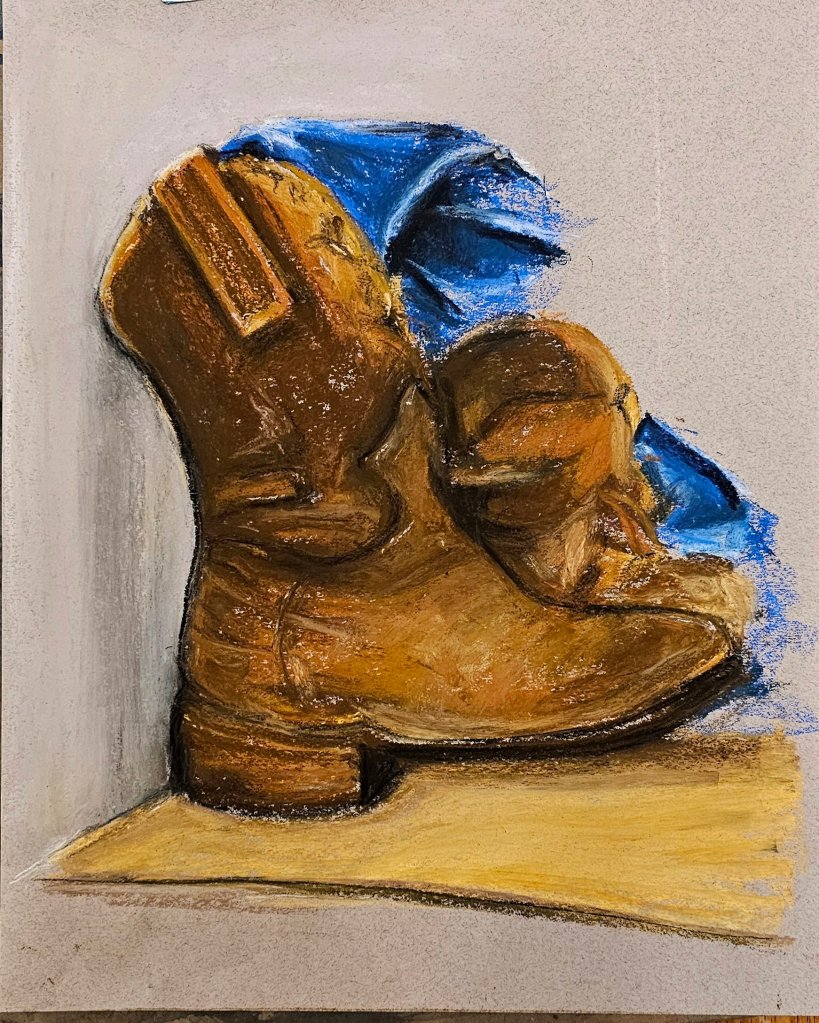


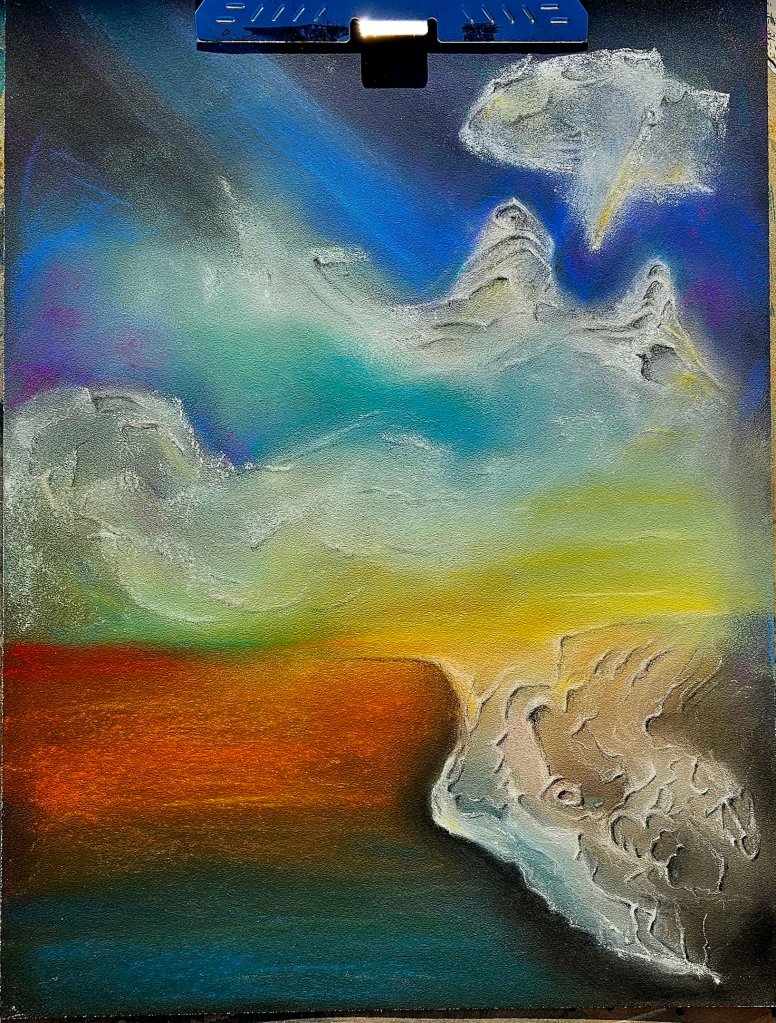
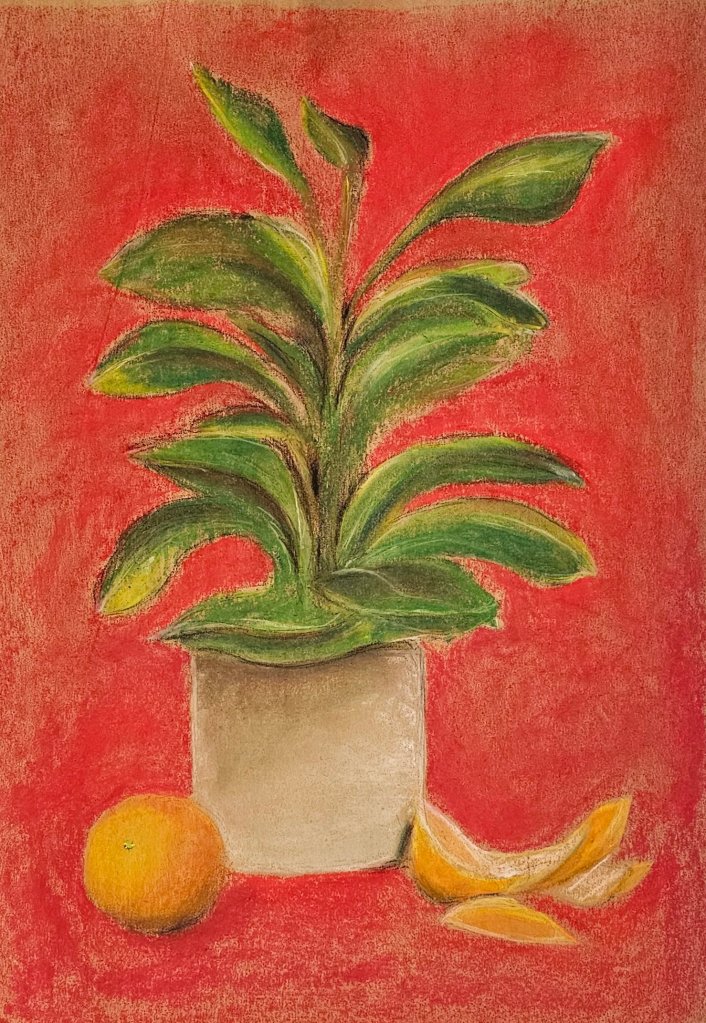
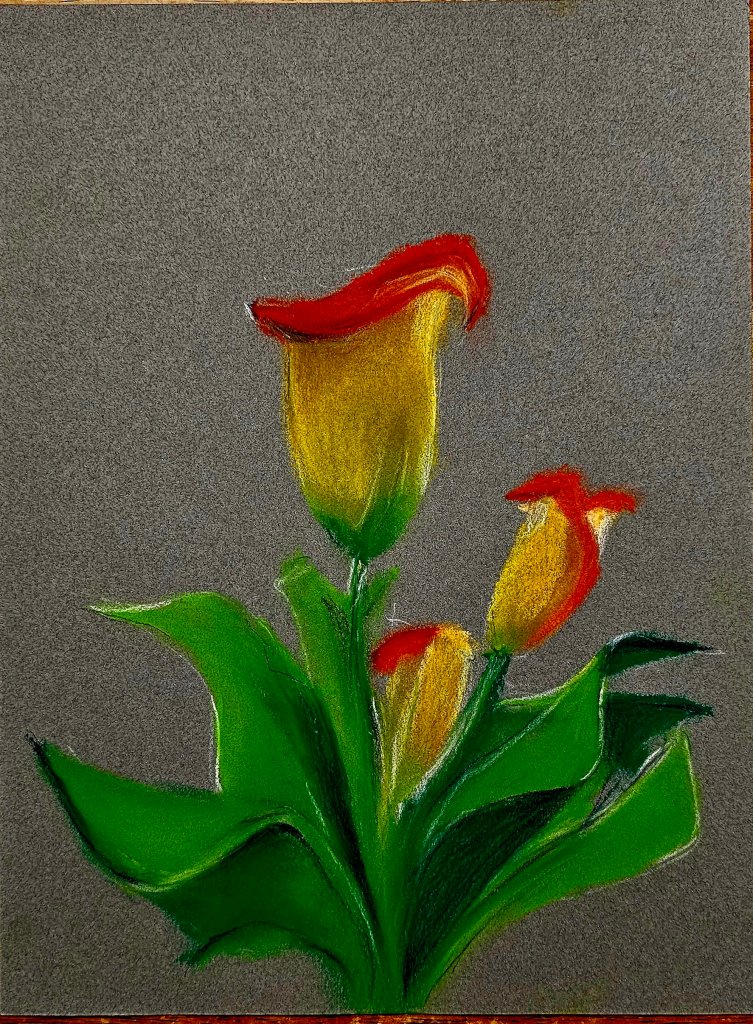

-
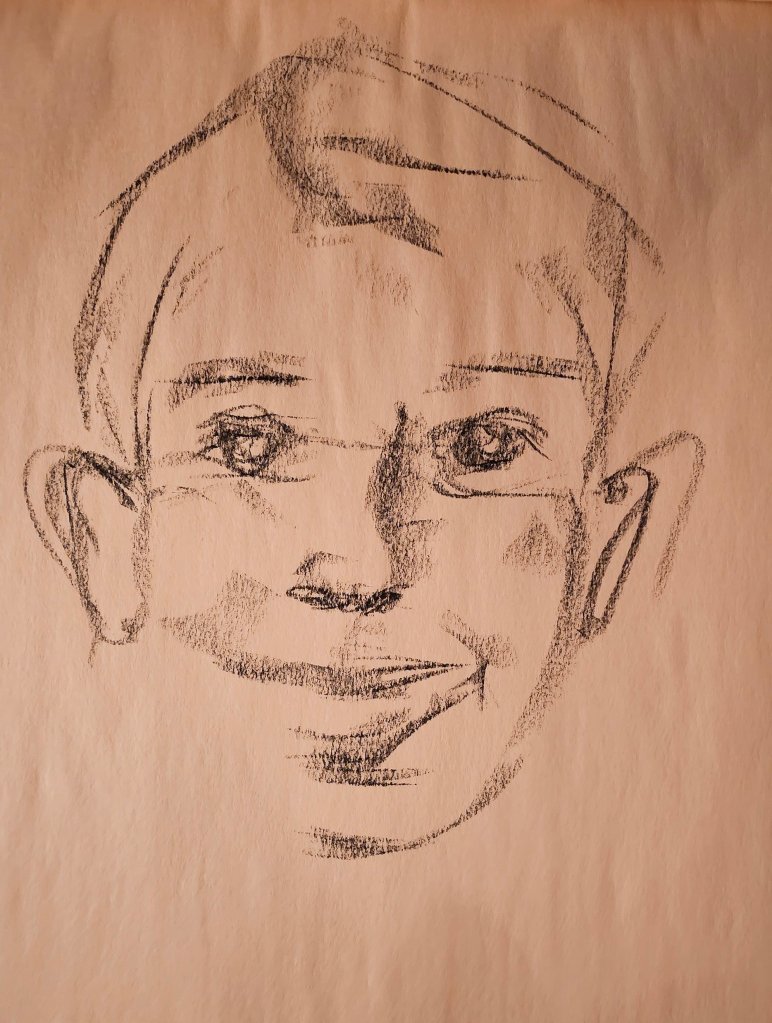
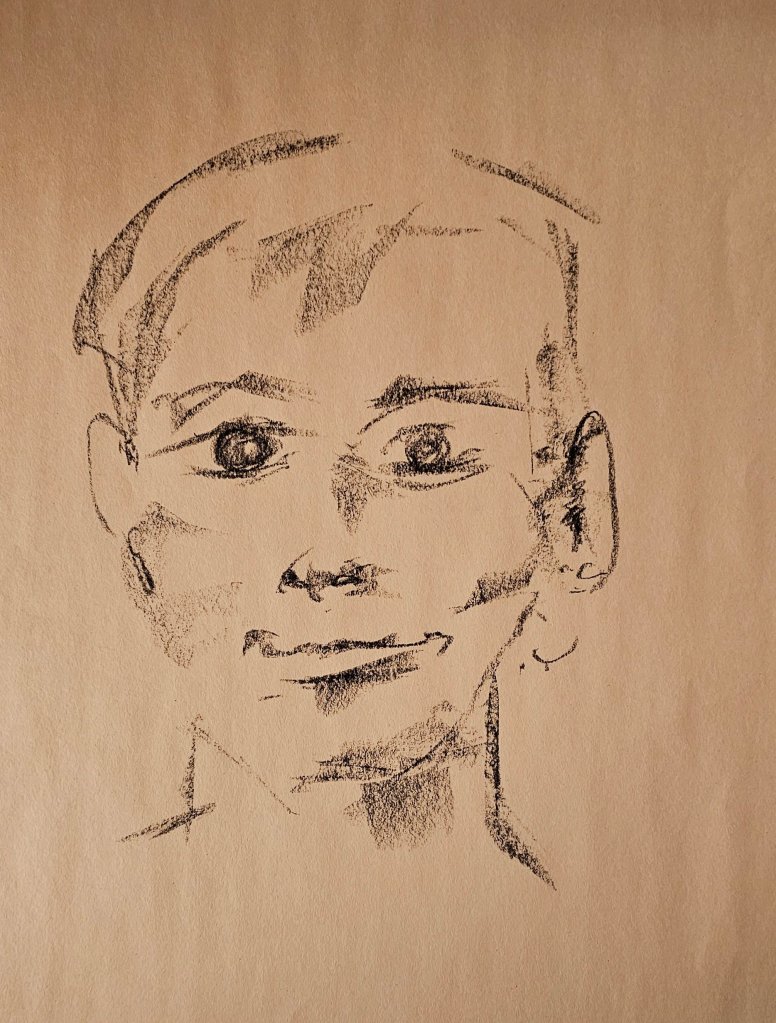
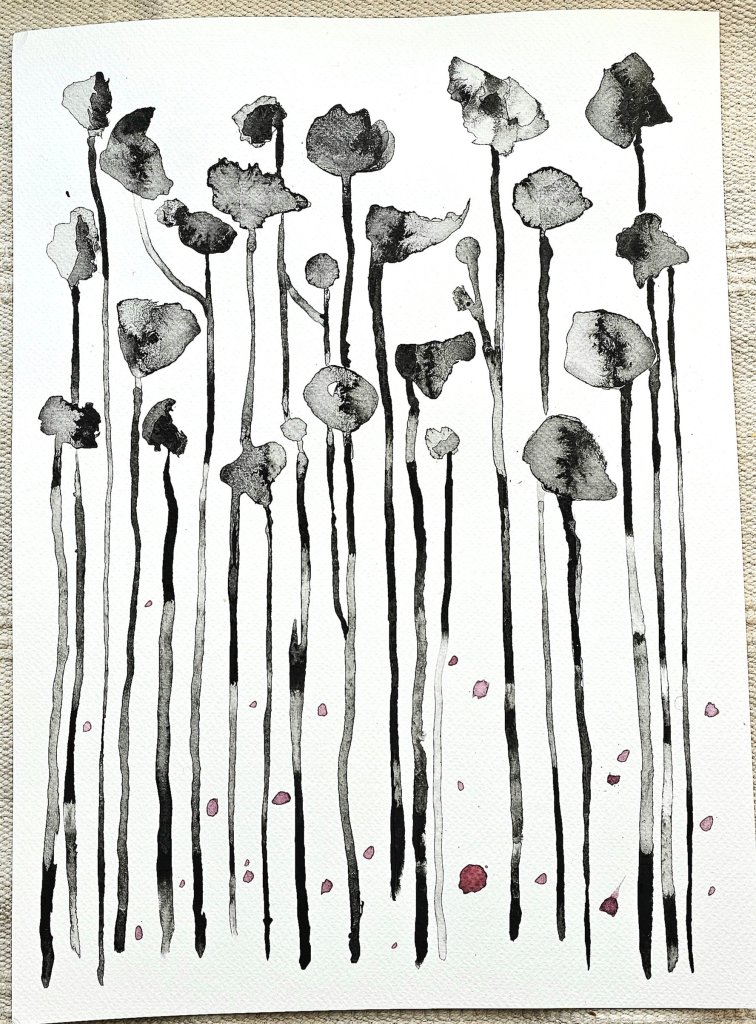
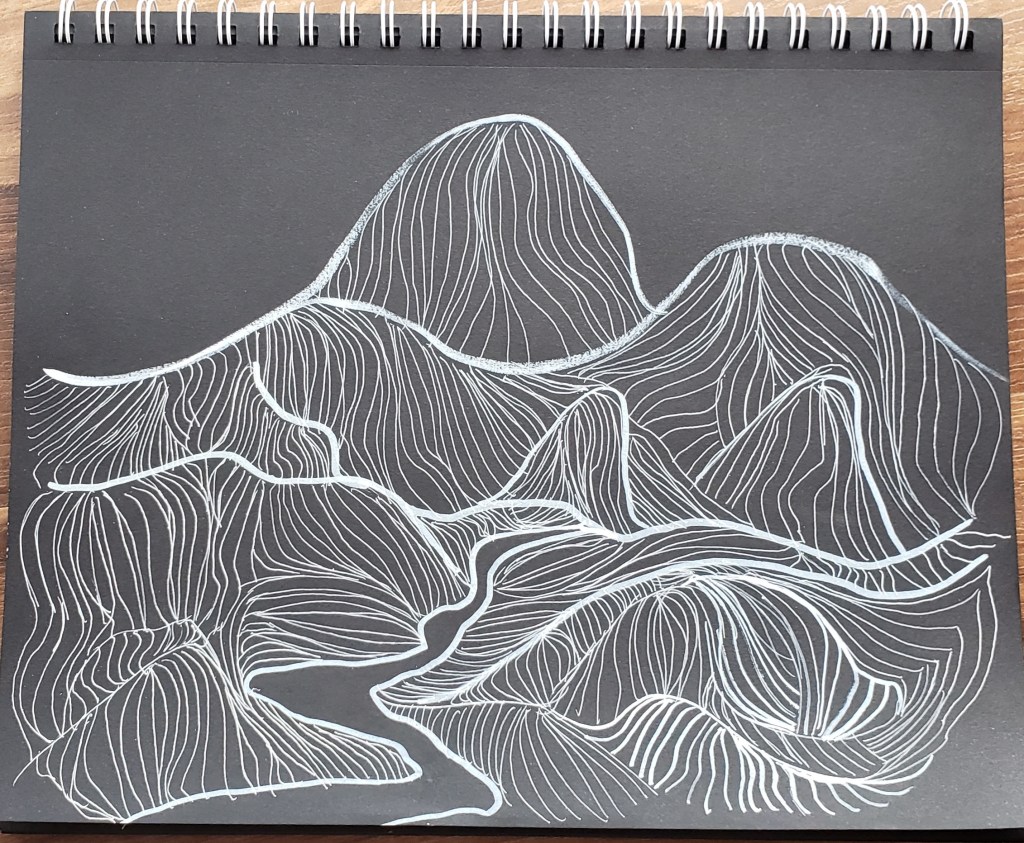
Contour Drawings
The power of a line is so great that it can bring its audience to a halt, direct, redirect, convince, and play mind games if it is clever enough. “Lines” need not be limited to straight cut 90° angles, planned and measured. They can be loose, bold, shy, whispered, there is nothing a line can’t express if you let your mind see it.
Unfinished outlines with proposed fillers makes one want to continue the rest of the work. 
Juxtaposition of lines and opposing directions invite the viewer to appreciate the bigger picture with intention. 
Wavy long lines give the impression of flow. 
-
Oopsies!
It happens to the best of us. -
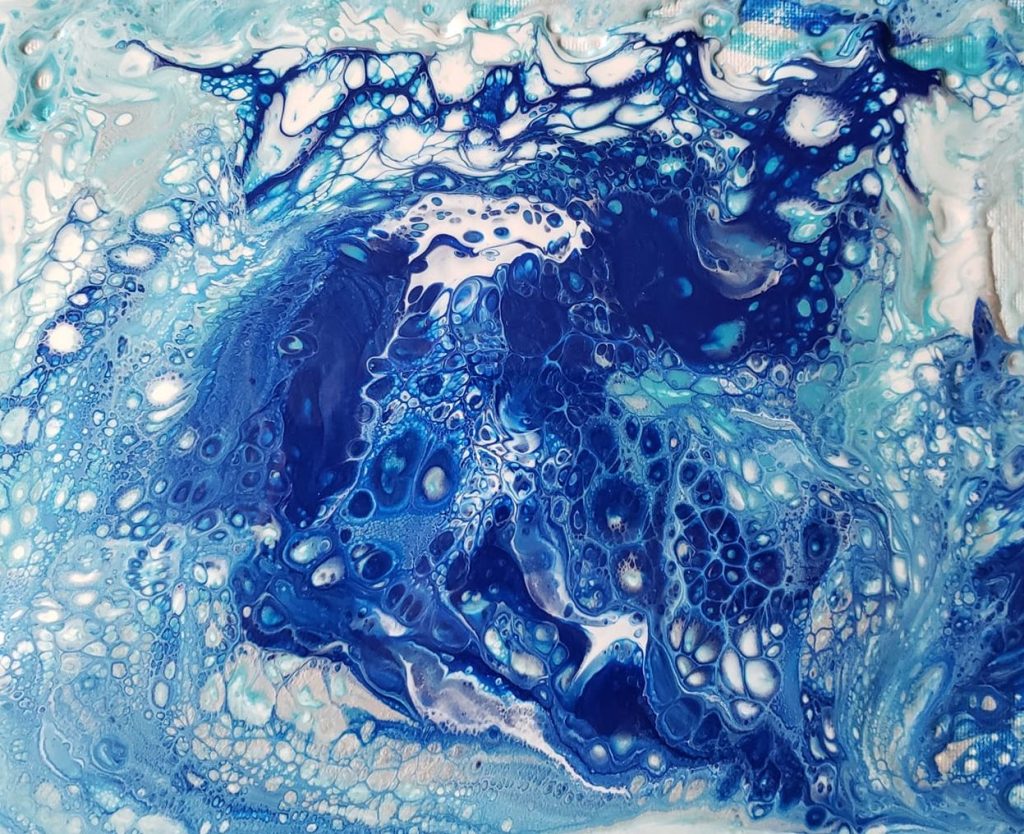
Acrylic Pouring
-
Alcohol Ink Markers
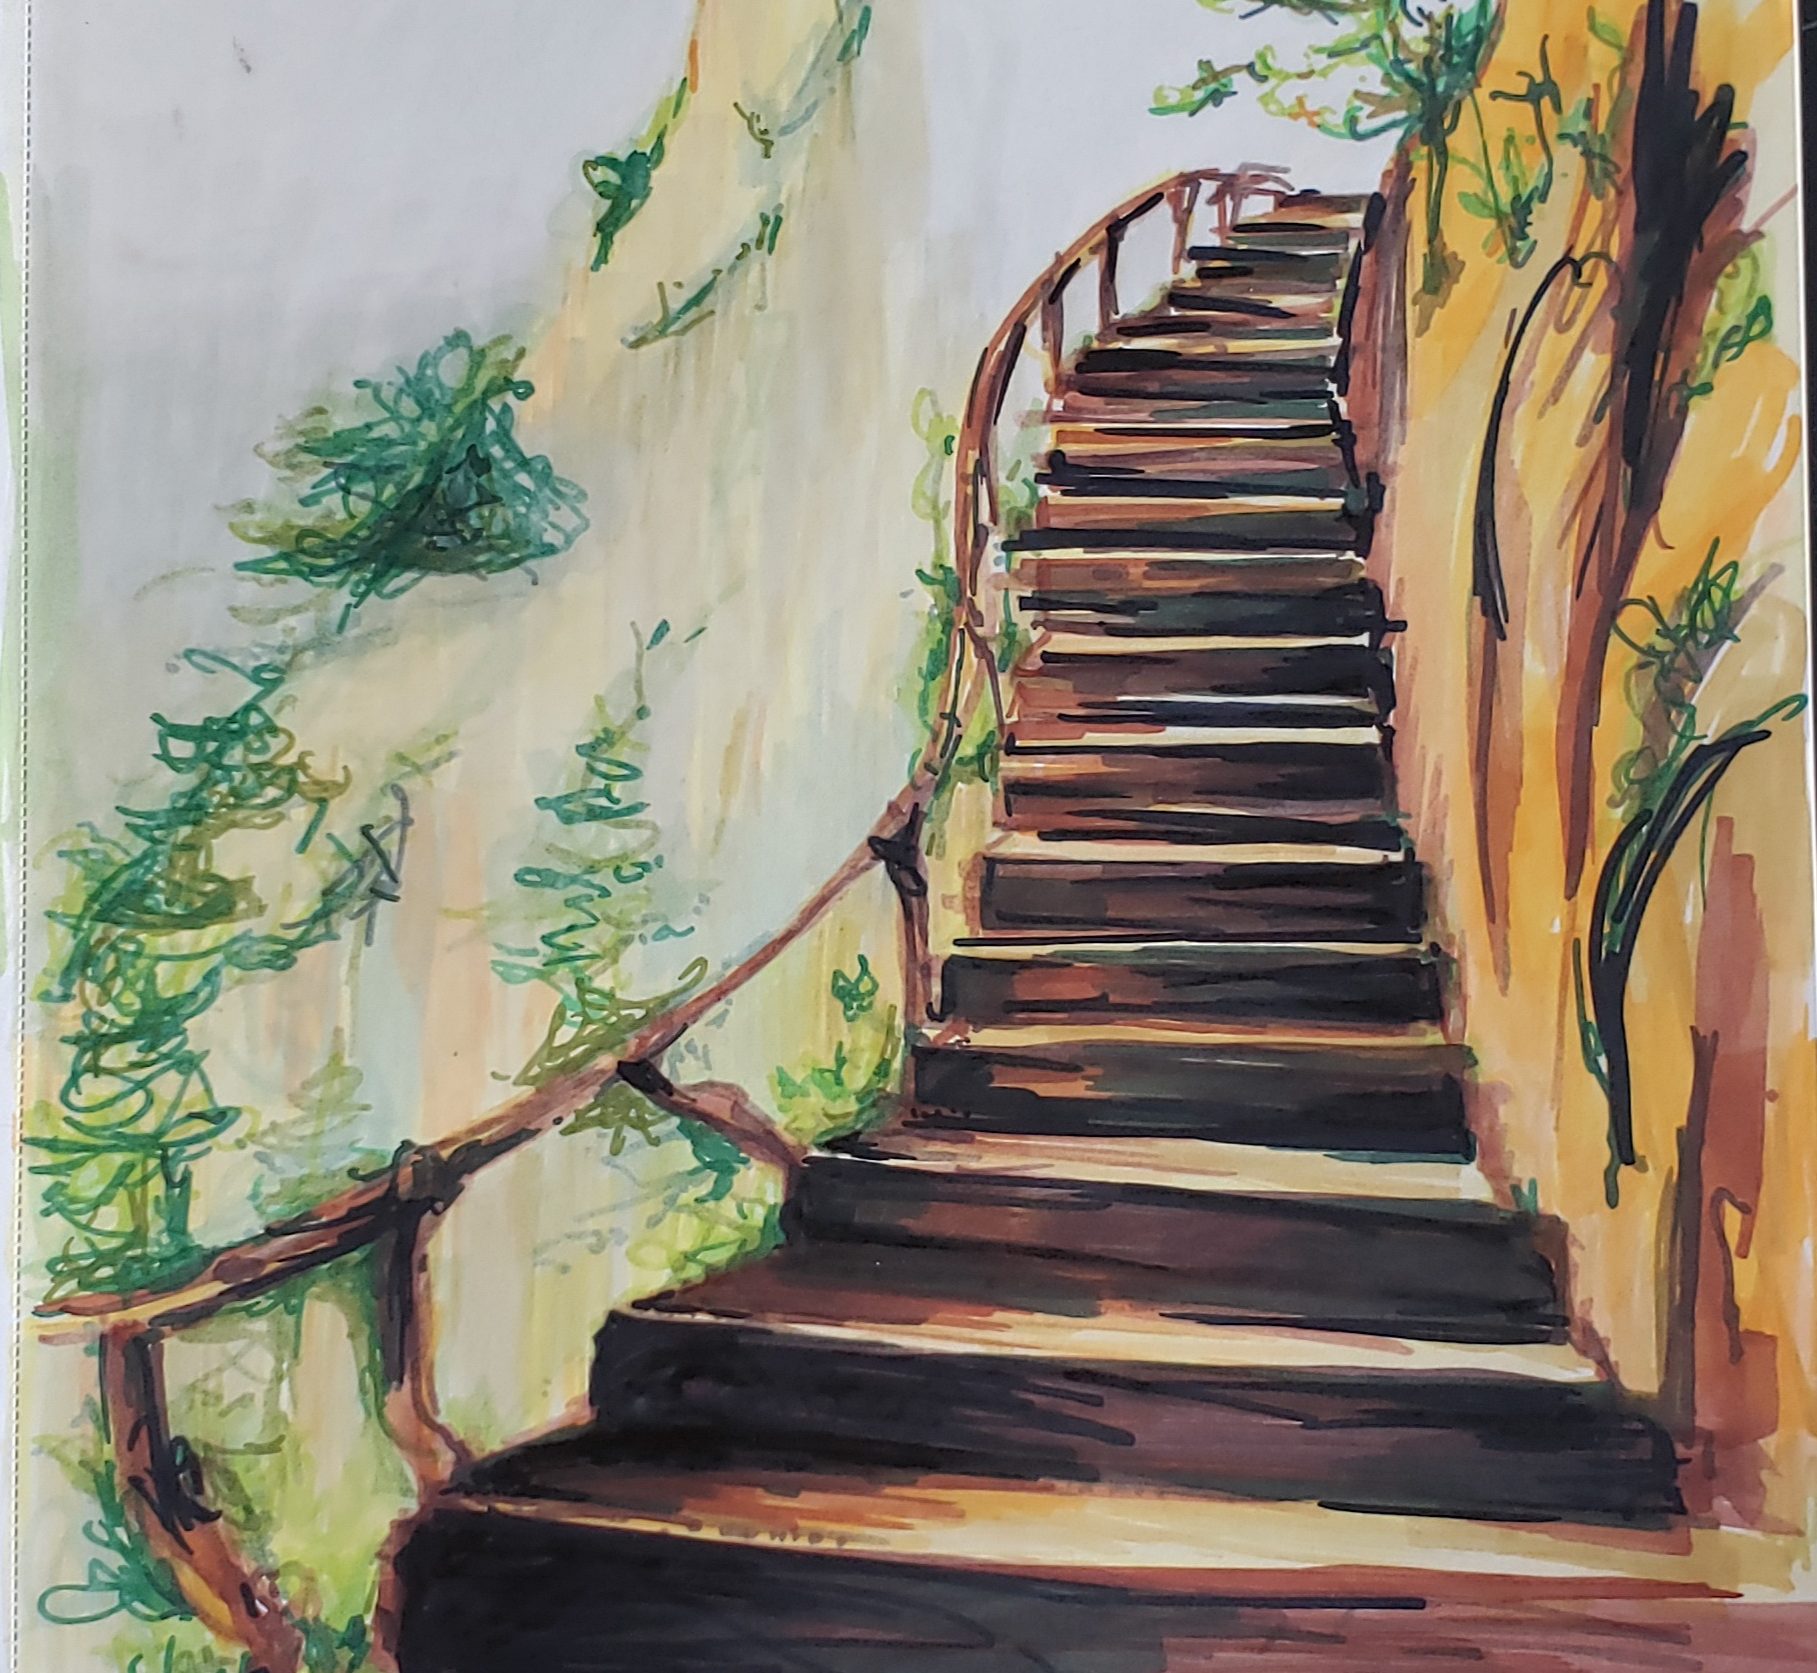
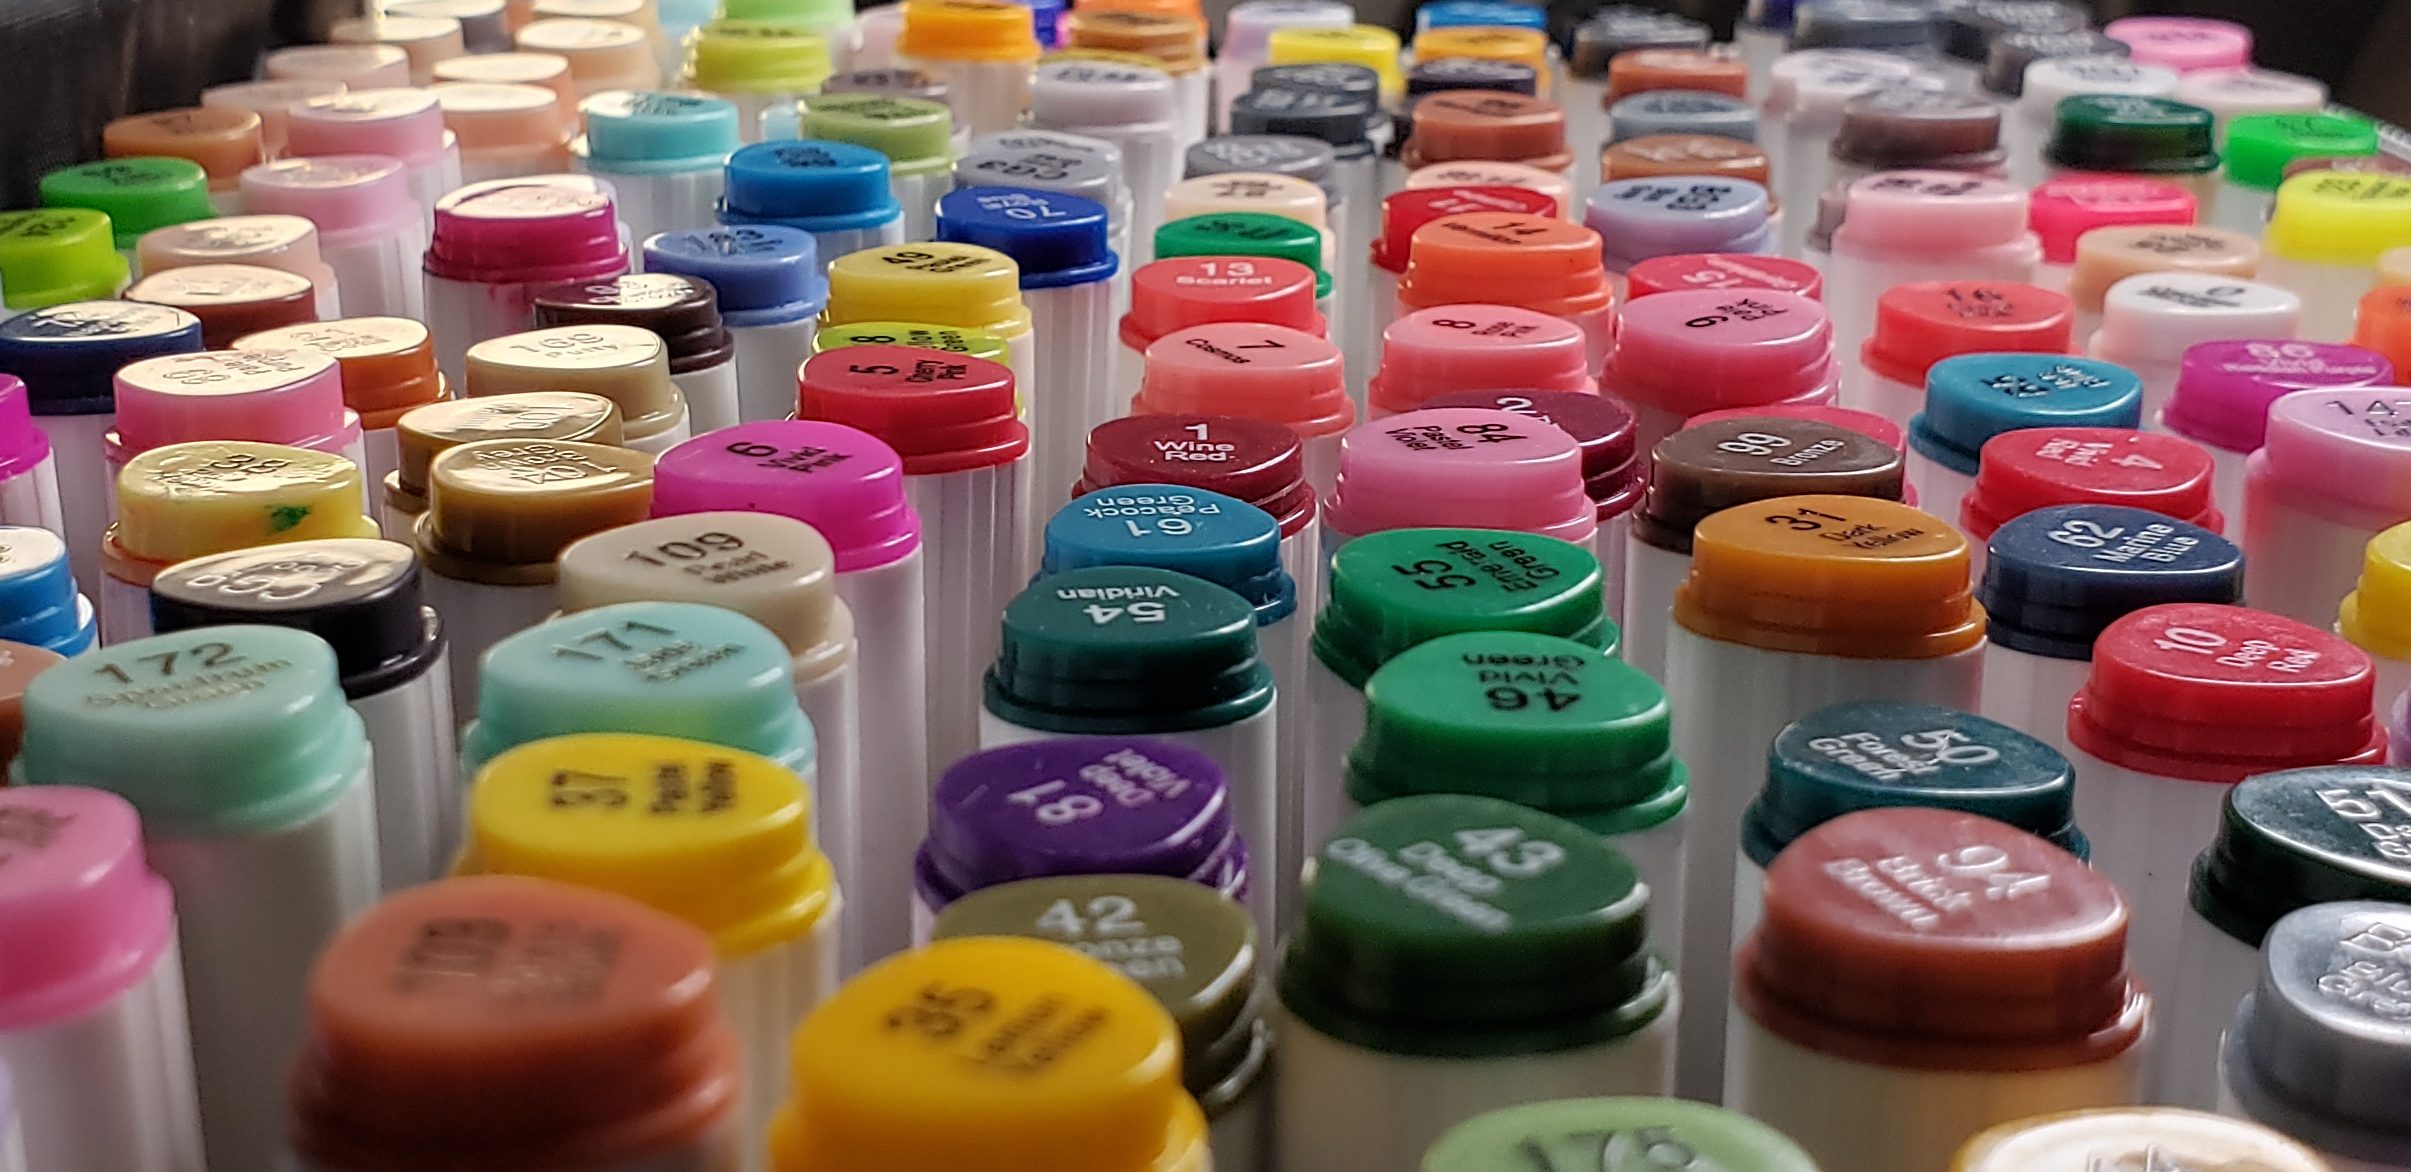
Zen Stairway The fun thing with alcohol ink markers is the variety of colours. I bought a 168 marker set for relatively cheap off Amazon. I never knew the possibility of having so many neutral and subtle shades, as well as the dozens of greys and off-whites. Wow. It’s seriously like a candy store feeling when I open the case and I’m greeted with all the colour and potential of what I could do!!
You’ll definitely need a heavyweight paper for these babies though. You know what it’s like handling a Sharpie? Same thing here. They’re permanent, they will seep through paper, and they dry instantly, so no smudging! In addition to the set I originally purchased, I also bought a bunch of green shades from the art store. The ones I chose have a really nice brush tip that make corners and plant drawing easy and natural, they’re incomparable to any other markers I’ve ever tried. Well, close to watercolour marker application, but the difference is in the ink.
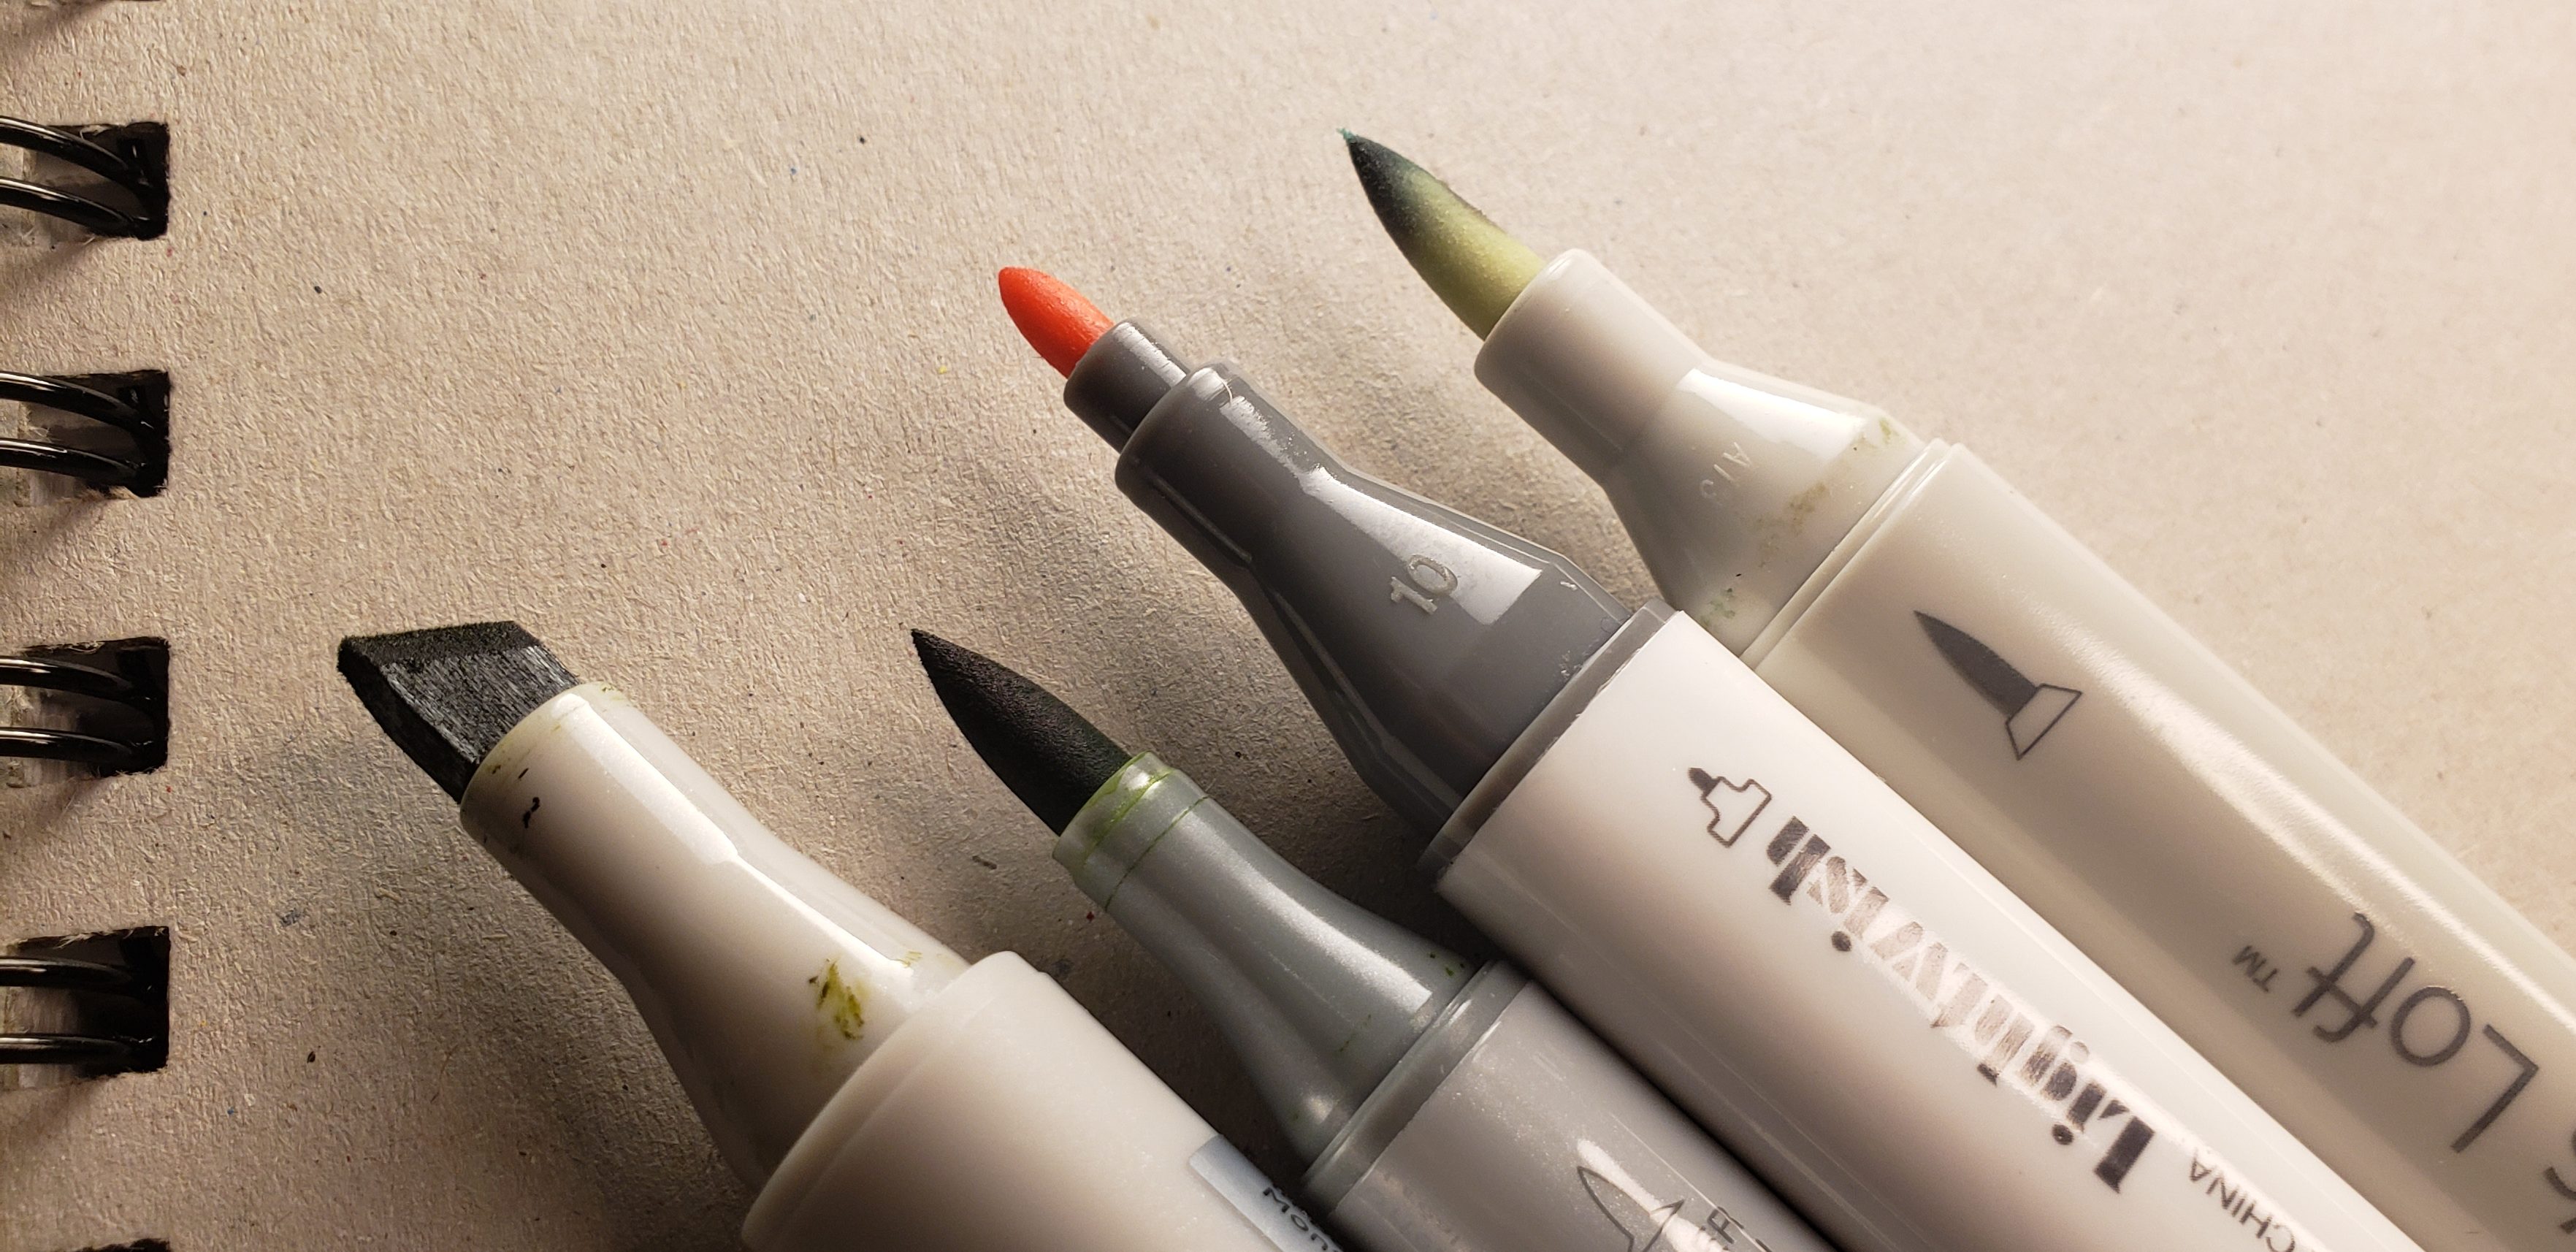
Some of the different markers and tips I’ve employed. 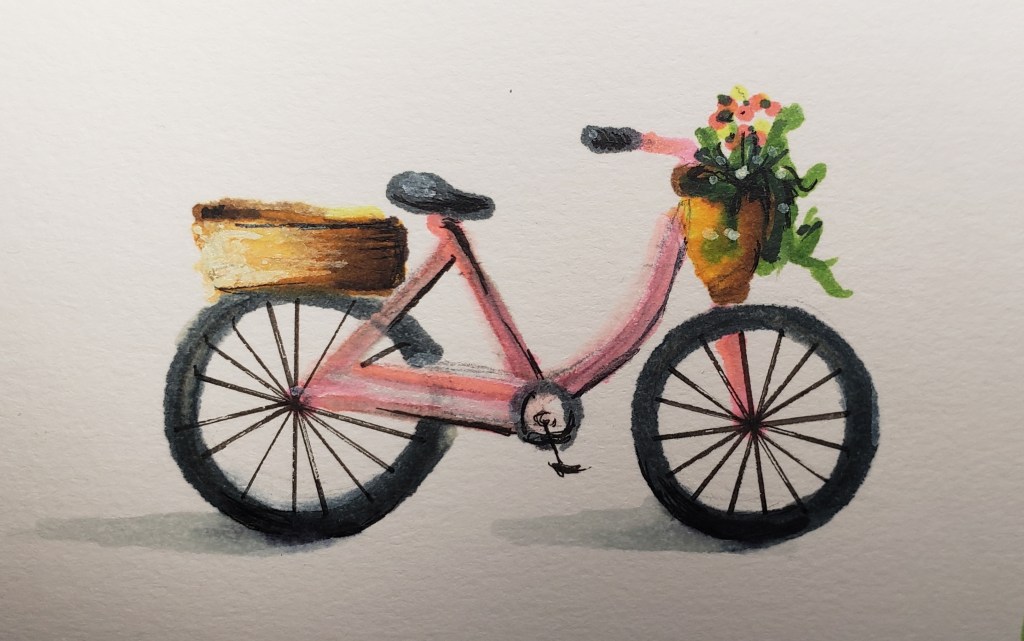
Pink Bike 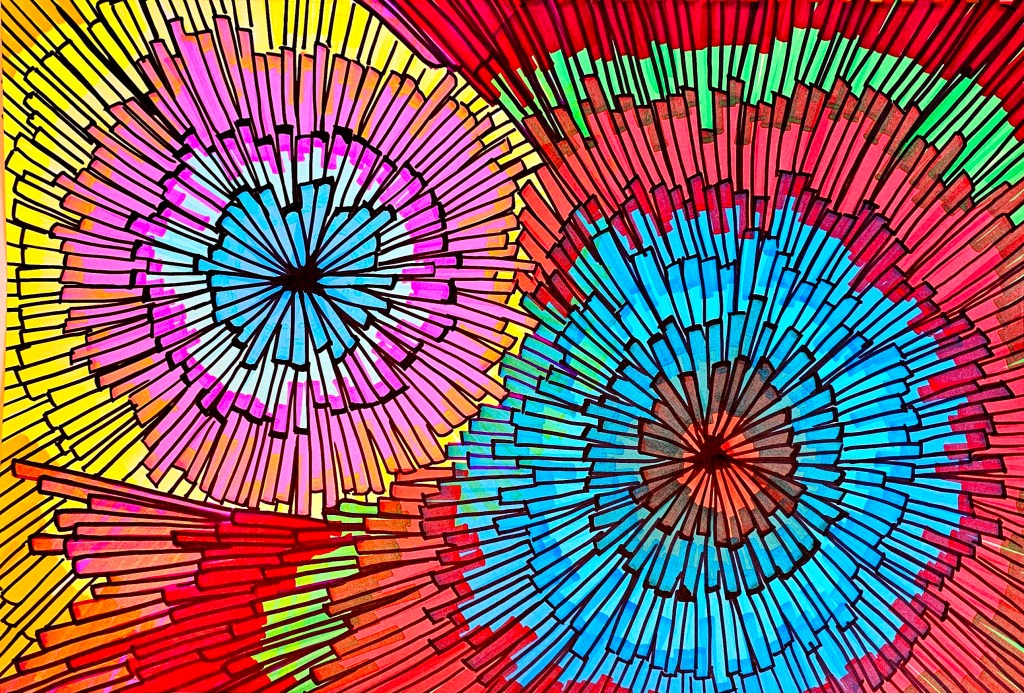
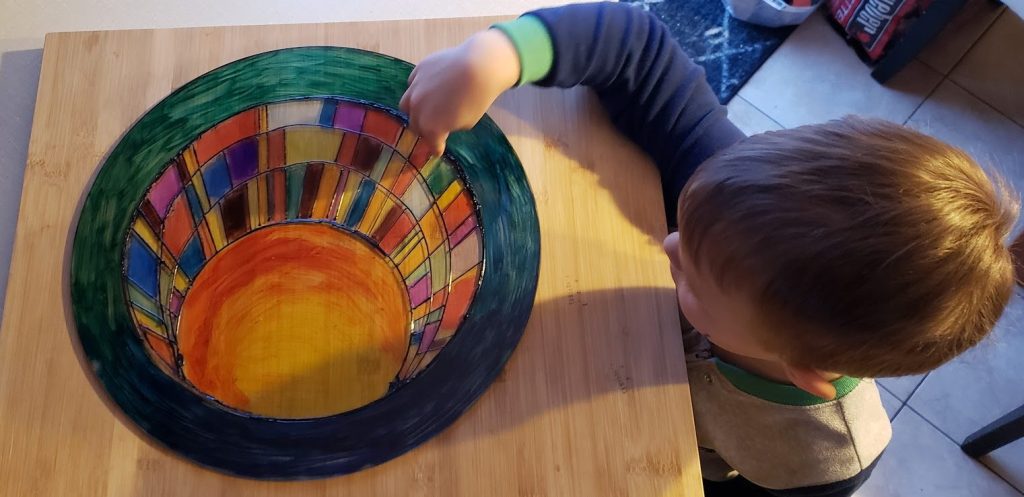
Sunset Stained Glass 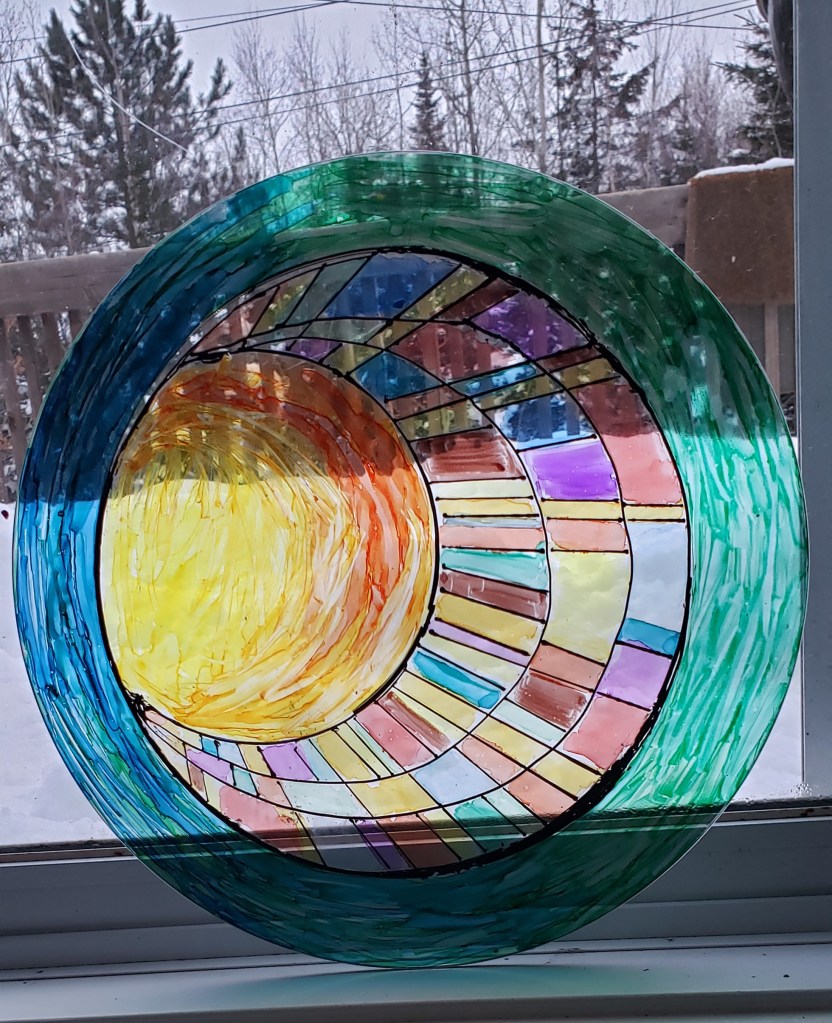
Alcohol Ink and cure on glass Did you know alcohol ink markers can be applied to other surfaces than paper? This versatile medium can be used on metal, glass (see example, above), plexiglass, jewelry, resin, fabric, added to clay, and many more contexts. Side note on the stained glass effect, if I were to do it again, I’ll just draw straight on a home window. If you want to remove what you’ve done, just scrub it with rubbing alcohol. I bought a small tube of black “cure” from the art store, it’s the raised black borders that really give it a more authentic look and feel. If you use cure, you’d be best to apply it first.
Alcohol Ink in Liquid Form
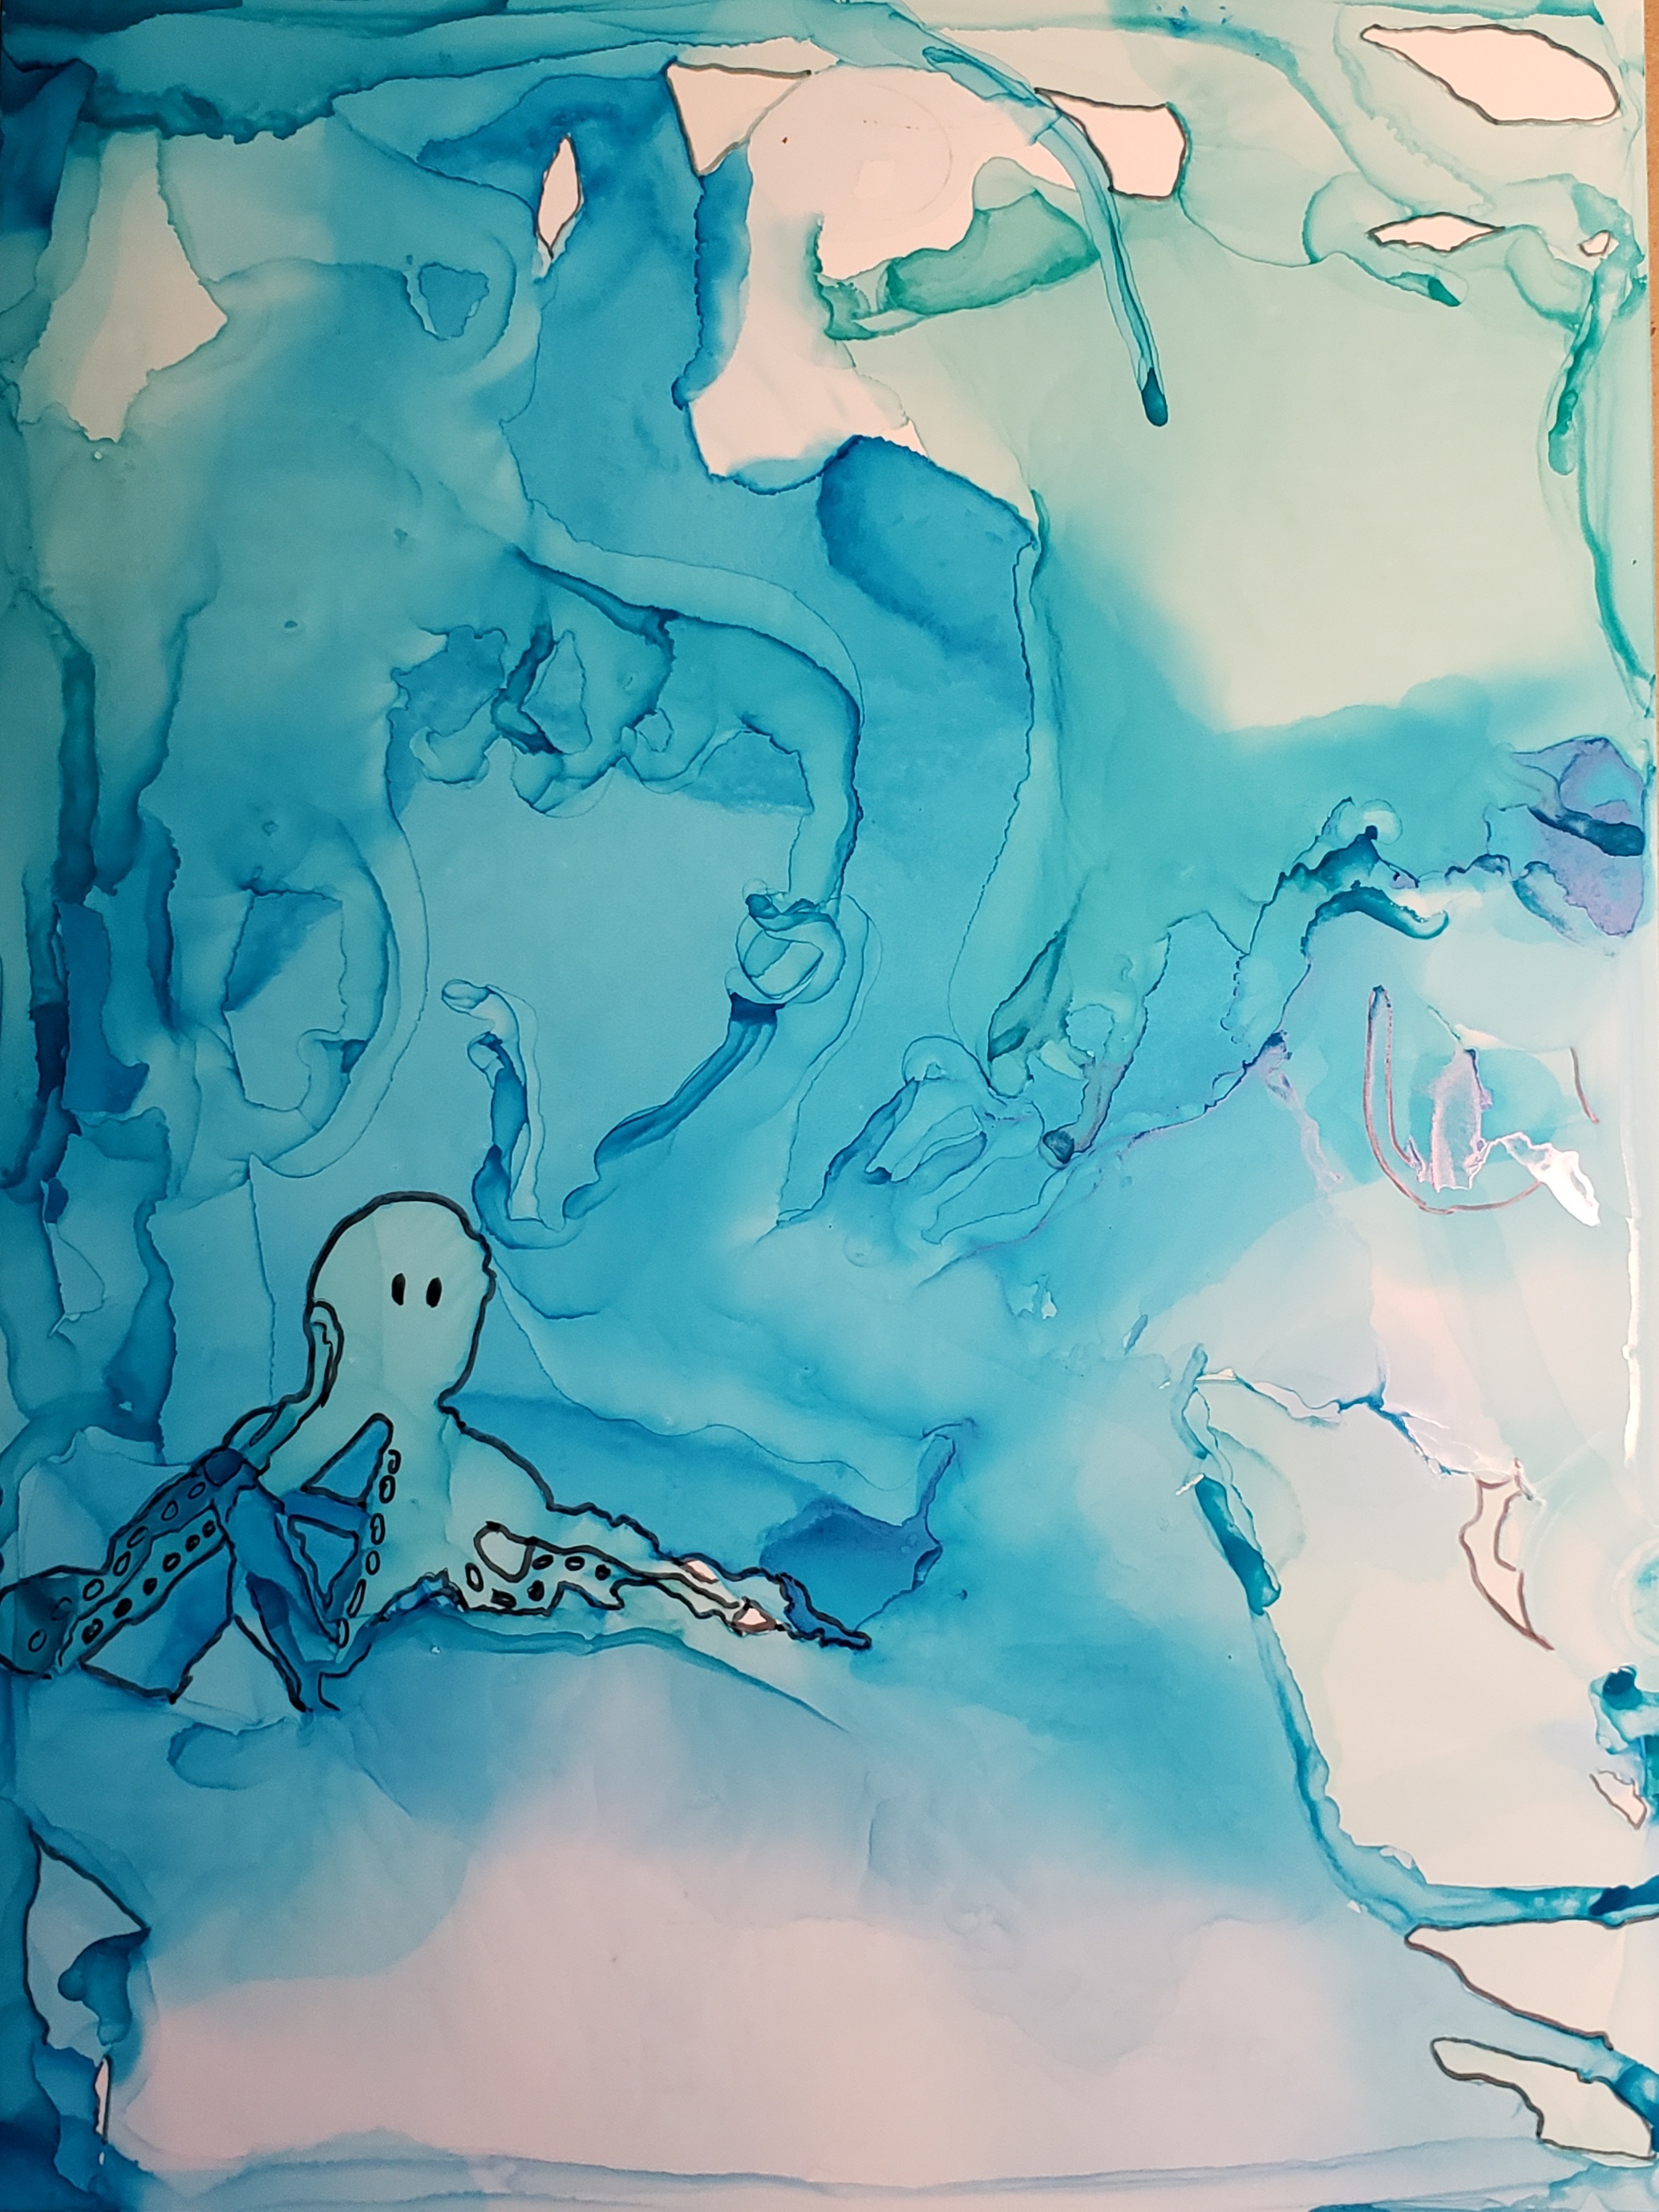
Hidden Puss 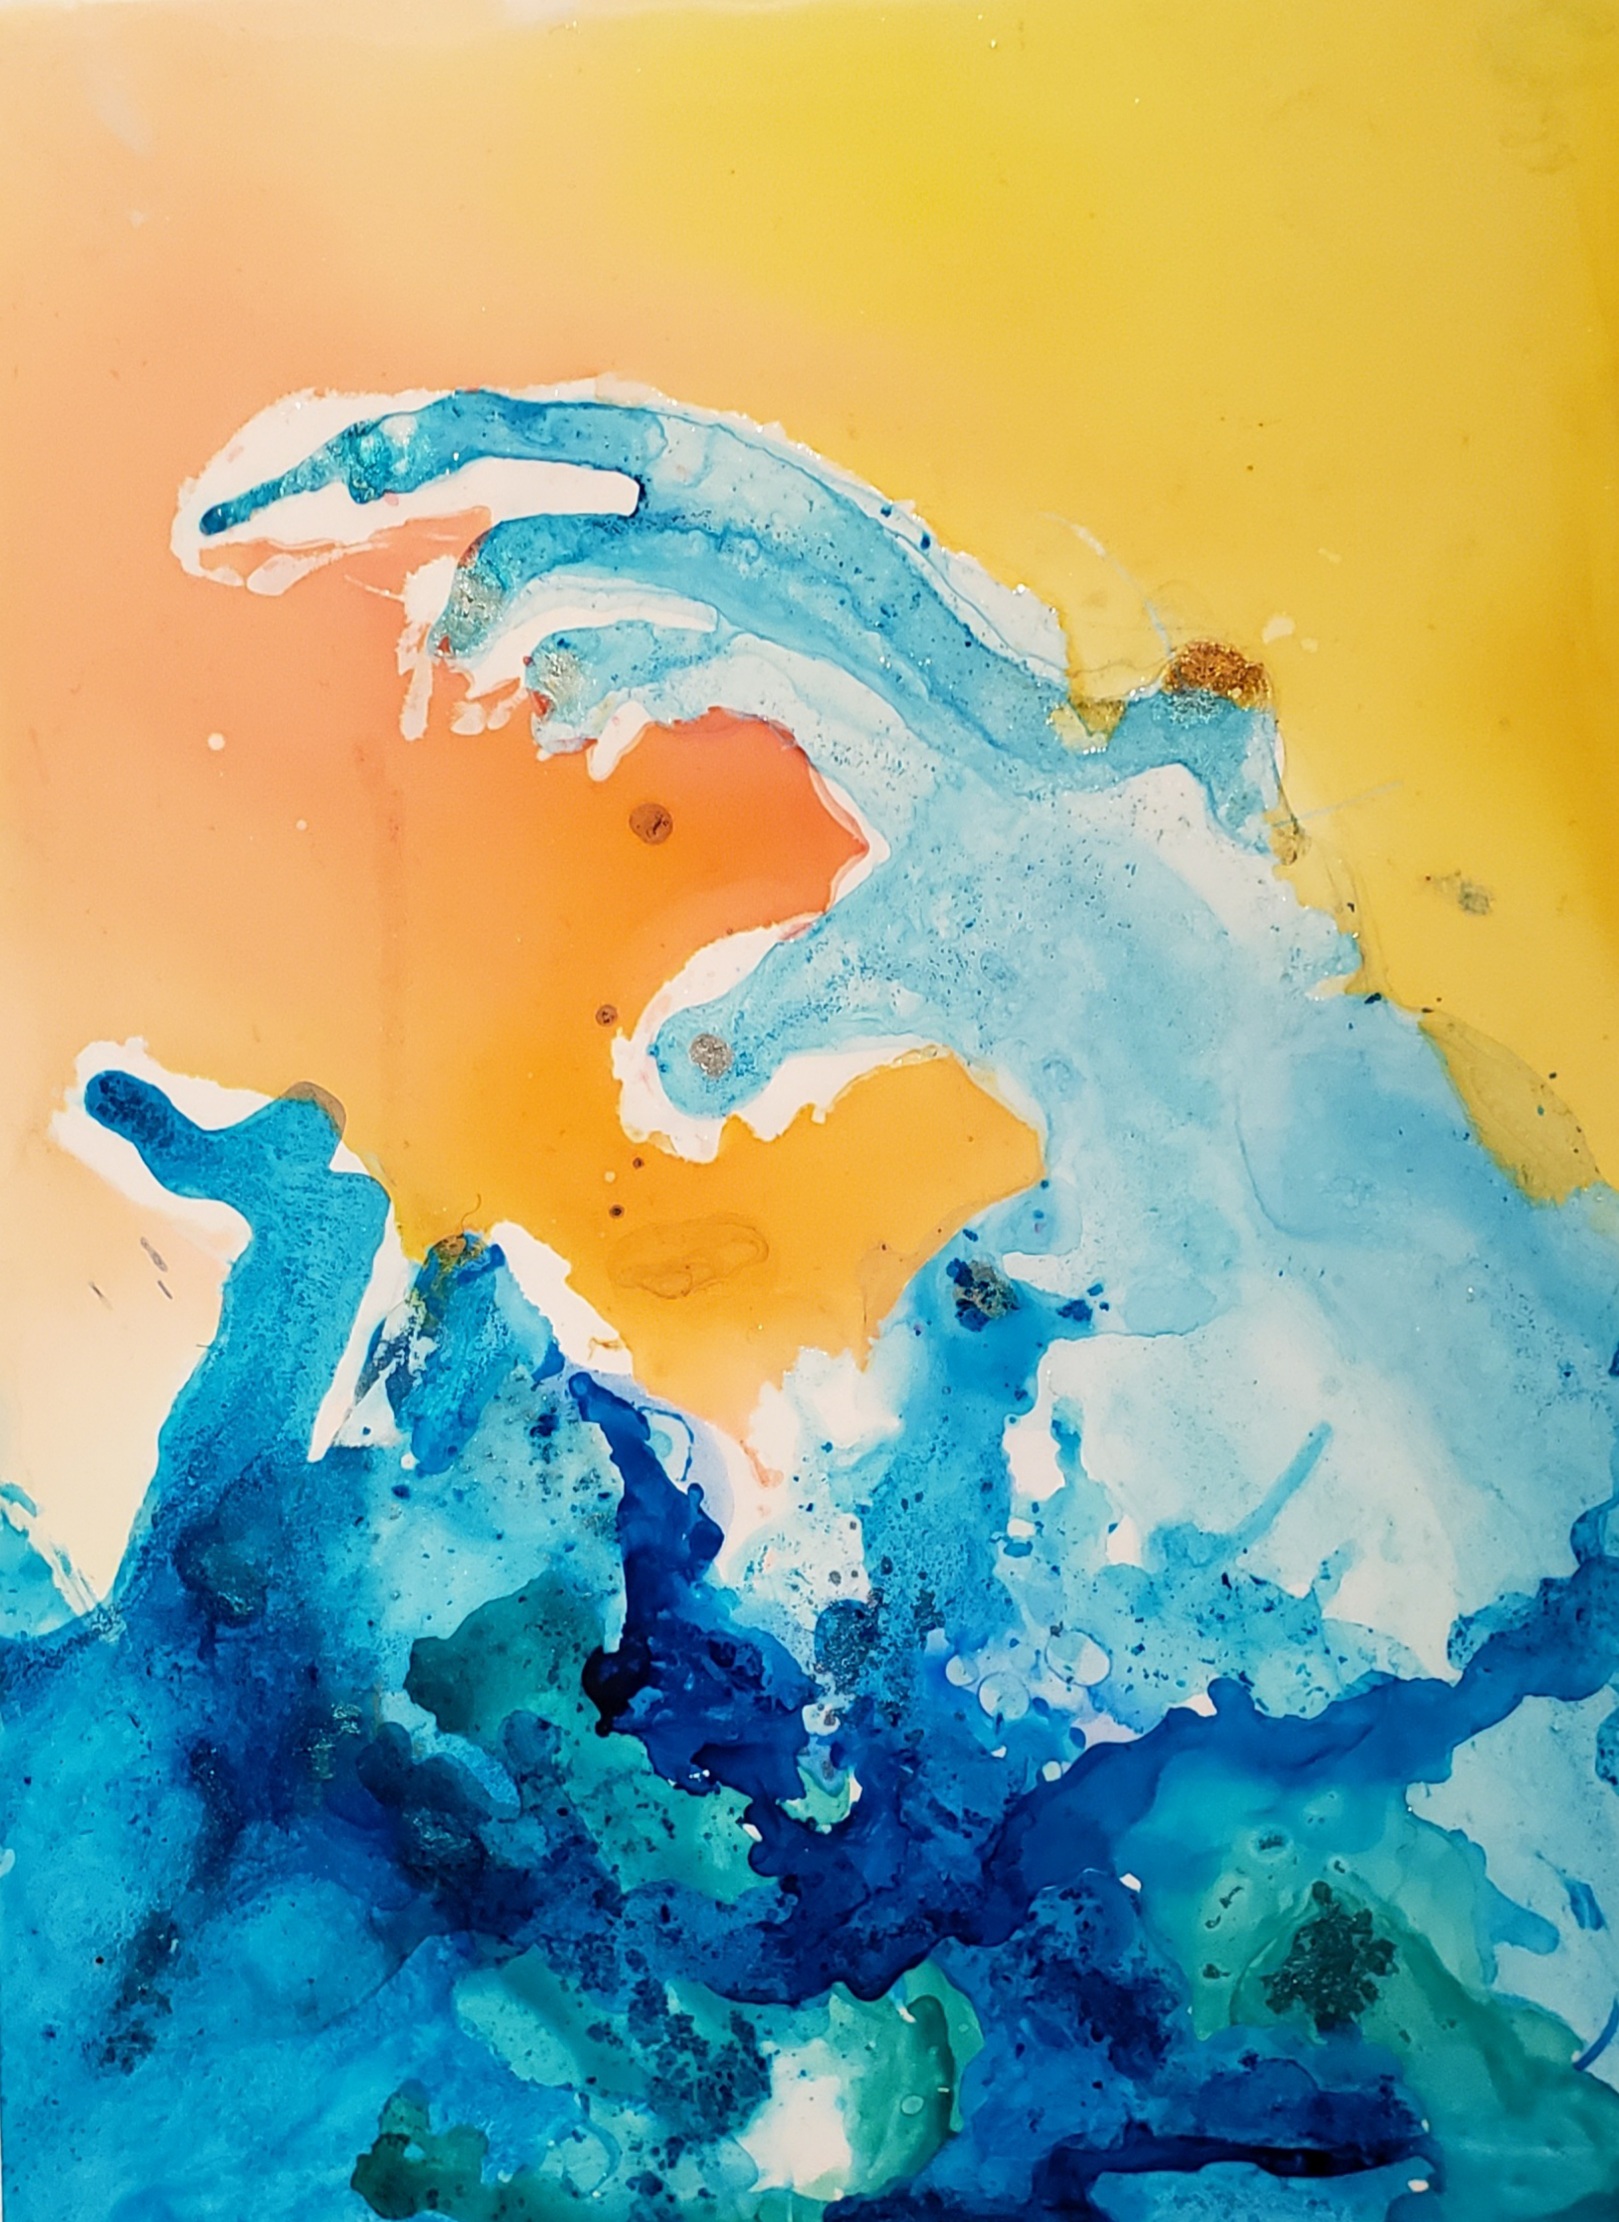
Reaching Wave 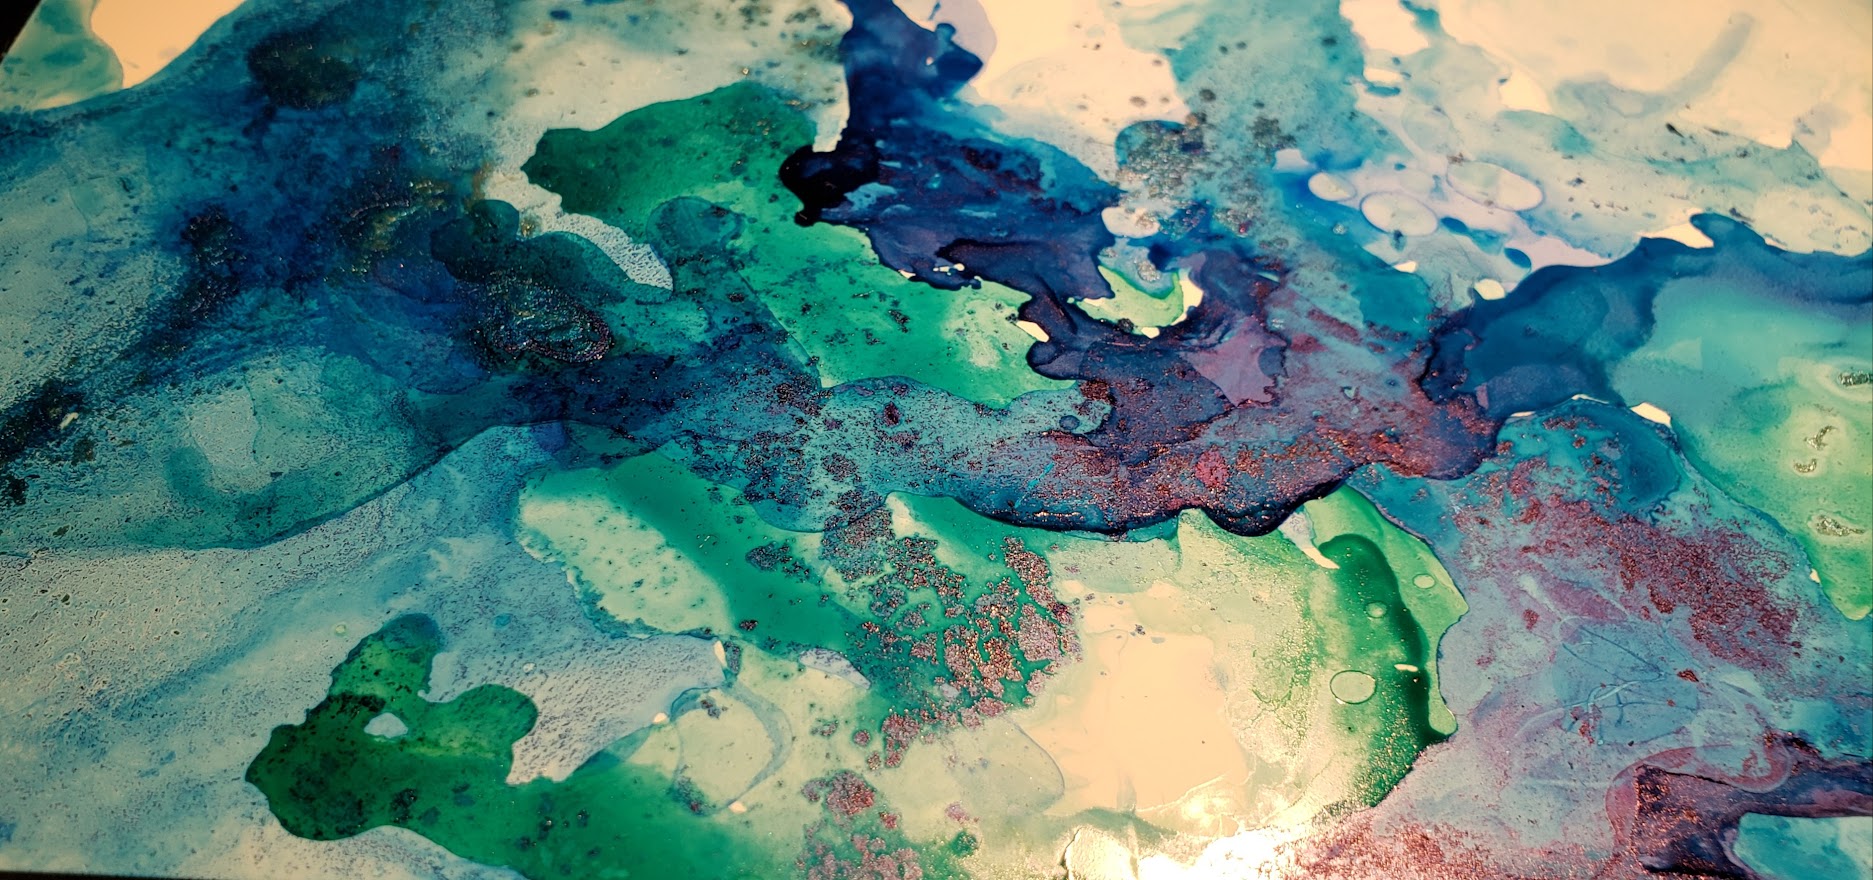
Cammo plane Ink on polypropylene Alcohol ink can be used as a fluid painting technique. The ink I bought came in small dropper-style bottles. This highly pigmented ink splashes and stains easily, so grab a pair of gloves for the sake of staying clean. Amongst the various inks in the set I bought, some are transparent and some are opaque. I saved the opaque choices for some of the resin projects – quick note – it doesn’t blend as much as it “drops” because it’s a heavier substance. Back to the ink on paper, it’s not really just “paper”, as the heading may suggest. Polypropylene is a synthetic, thin, flexible non-porous and non-absorbant plastic. It has a kodak paper feel to it. Since it doesn’t absorb, you can keep adding layers to it.
How to actually do it? As with most projects, preparation is primordial. Here’s a list of things you’ll need and want handy:
- Alcohol. I’ve just gone with the 70 or 90% rubbing.
- Small dixie cups, or shot glasses.
- Vinyl-type gloves.
- Ink.
- Some kind of background surface you don’t mind getting dirty.
- Hairdryer.
A quick note on the ink – I’ve actually unscrewed a few of my markers to remove the core (gloves are a must here), and I squeezed drops from the wadding into one of my cups. Add a few drops of the rubbing alcohol to the pigment and slowly pour it onto your paper. You’ll see how this is a random art in many ways. You can tilt the paper to guide where you want the ink to go, it dries pretty fast so you’ll see results quickly. Here’s where you can add layers. If you make a small puddle, you can guide it around the paper with a hairdryer with very pleasant results as well. Experiment with letting the ink drop and splash and bleed into each other – it’s a distinct look and it’s just plain fun!
Ink and resin coaster 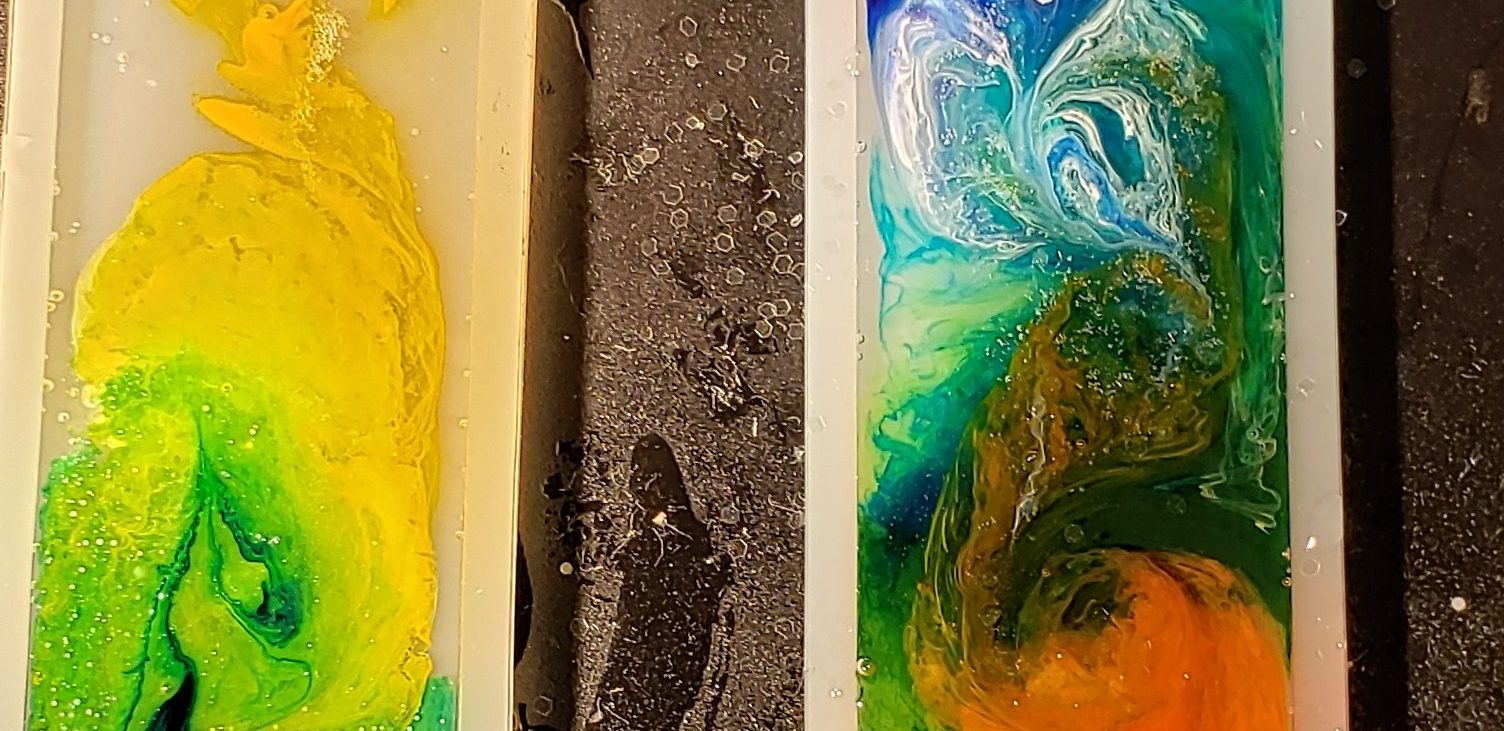
Ink and resin bookmarks 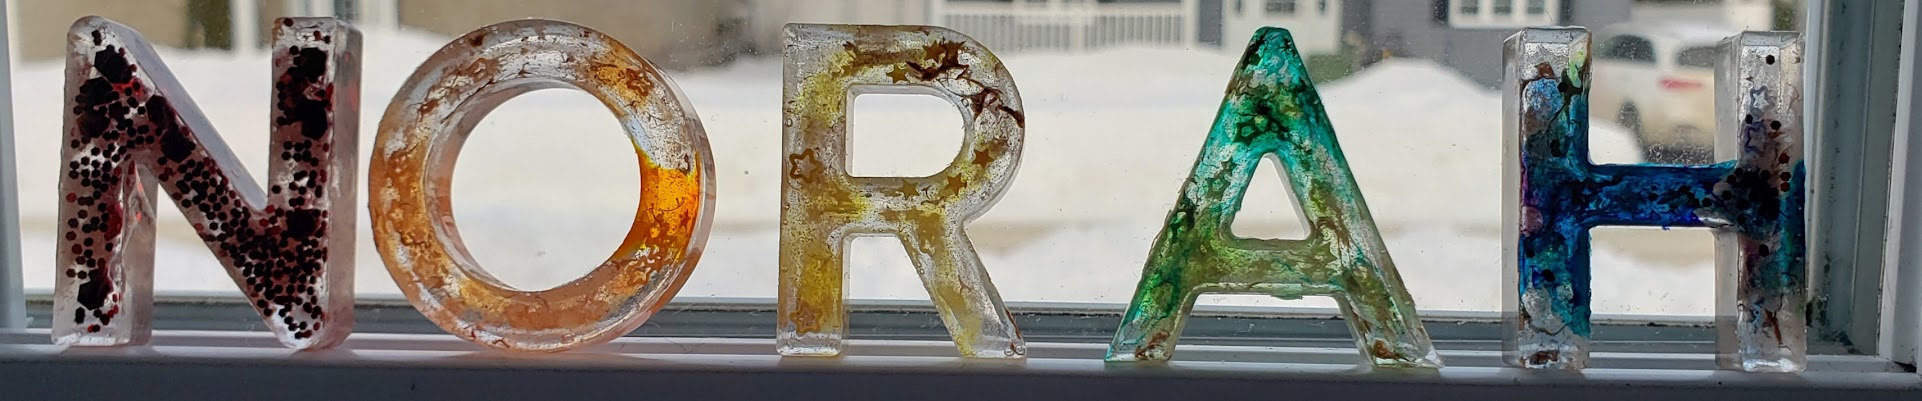
Ink and resin (and sparkles) Ink and epoxy resin As if alcohol ink wasn’t messy enough on it’s own, let’s add another level of OMG I’m so glad I brought gloves to the mix! Epoxy resin, which I’ve described how to handle and create in its own post, marries so well with the ink. I’ve tried my hand at a few crafty projects, particularly enjoyed the bookmarks and sun catchers.
You’ll need the same list of preparations as previously mentioned above, plus that of the resin. To keep it simple, prepare your resin first and add the ink as desired as the second step. I found that if I added the ink while the resin was still very fresh, the shape that I was aiming for shifted and changed more than what I wished for. Note to future self – wait for the resin to set a bit longer. Also, I found that in the absence of a blowtorch (see resin tips), adding drops of pure rubbing alcohol to the surface of the resin made any bubbles disappear! Go figure!
-
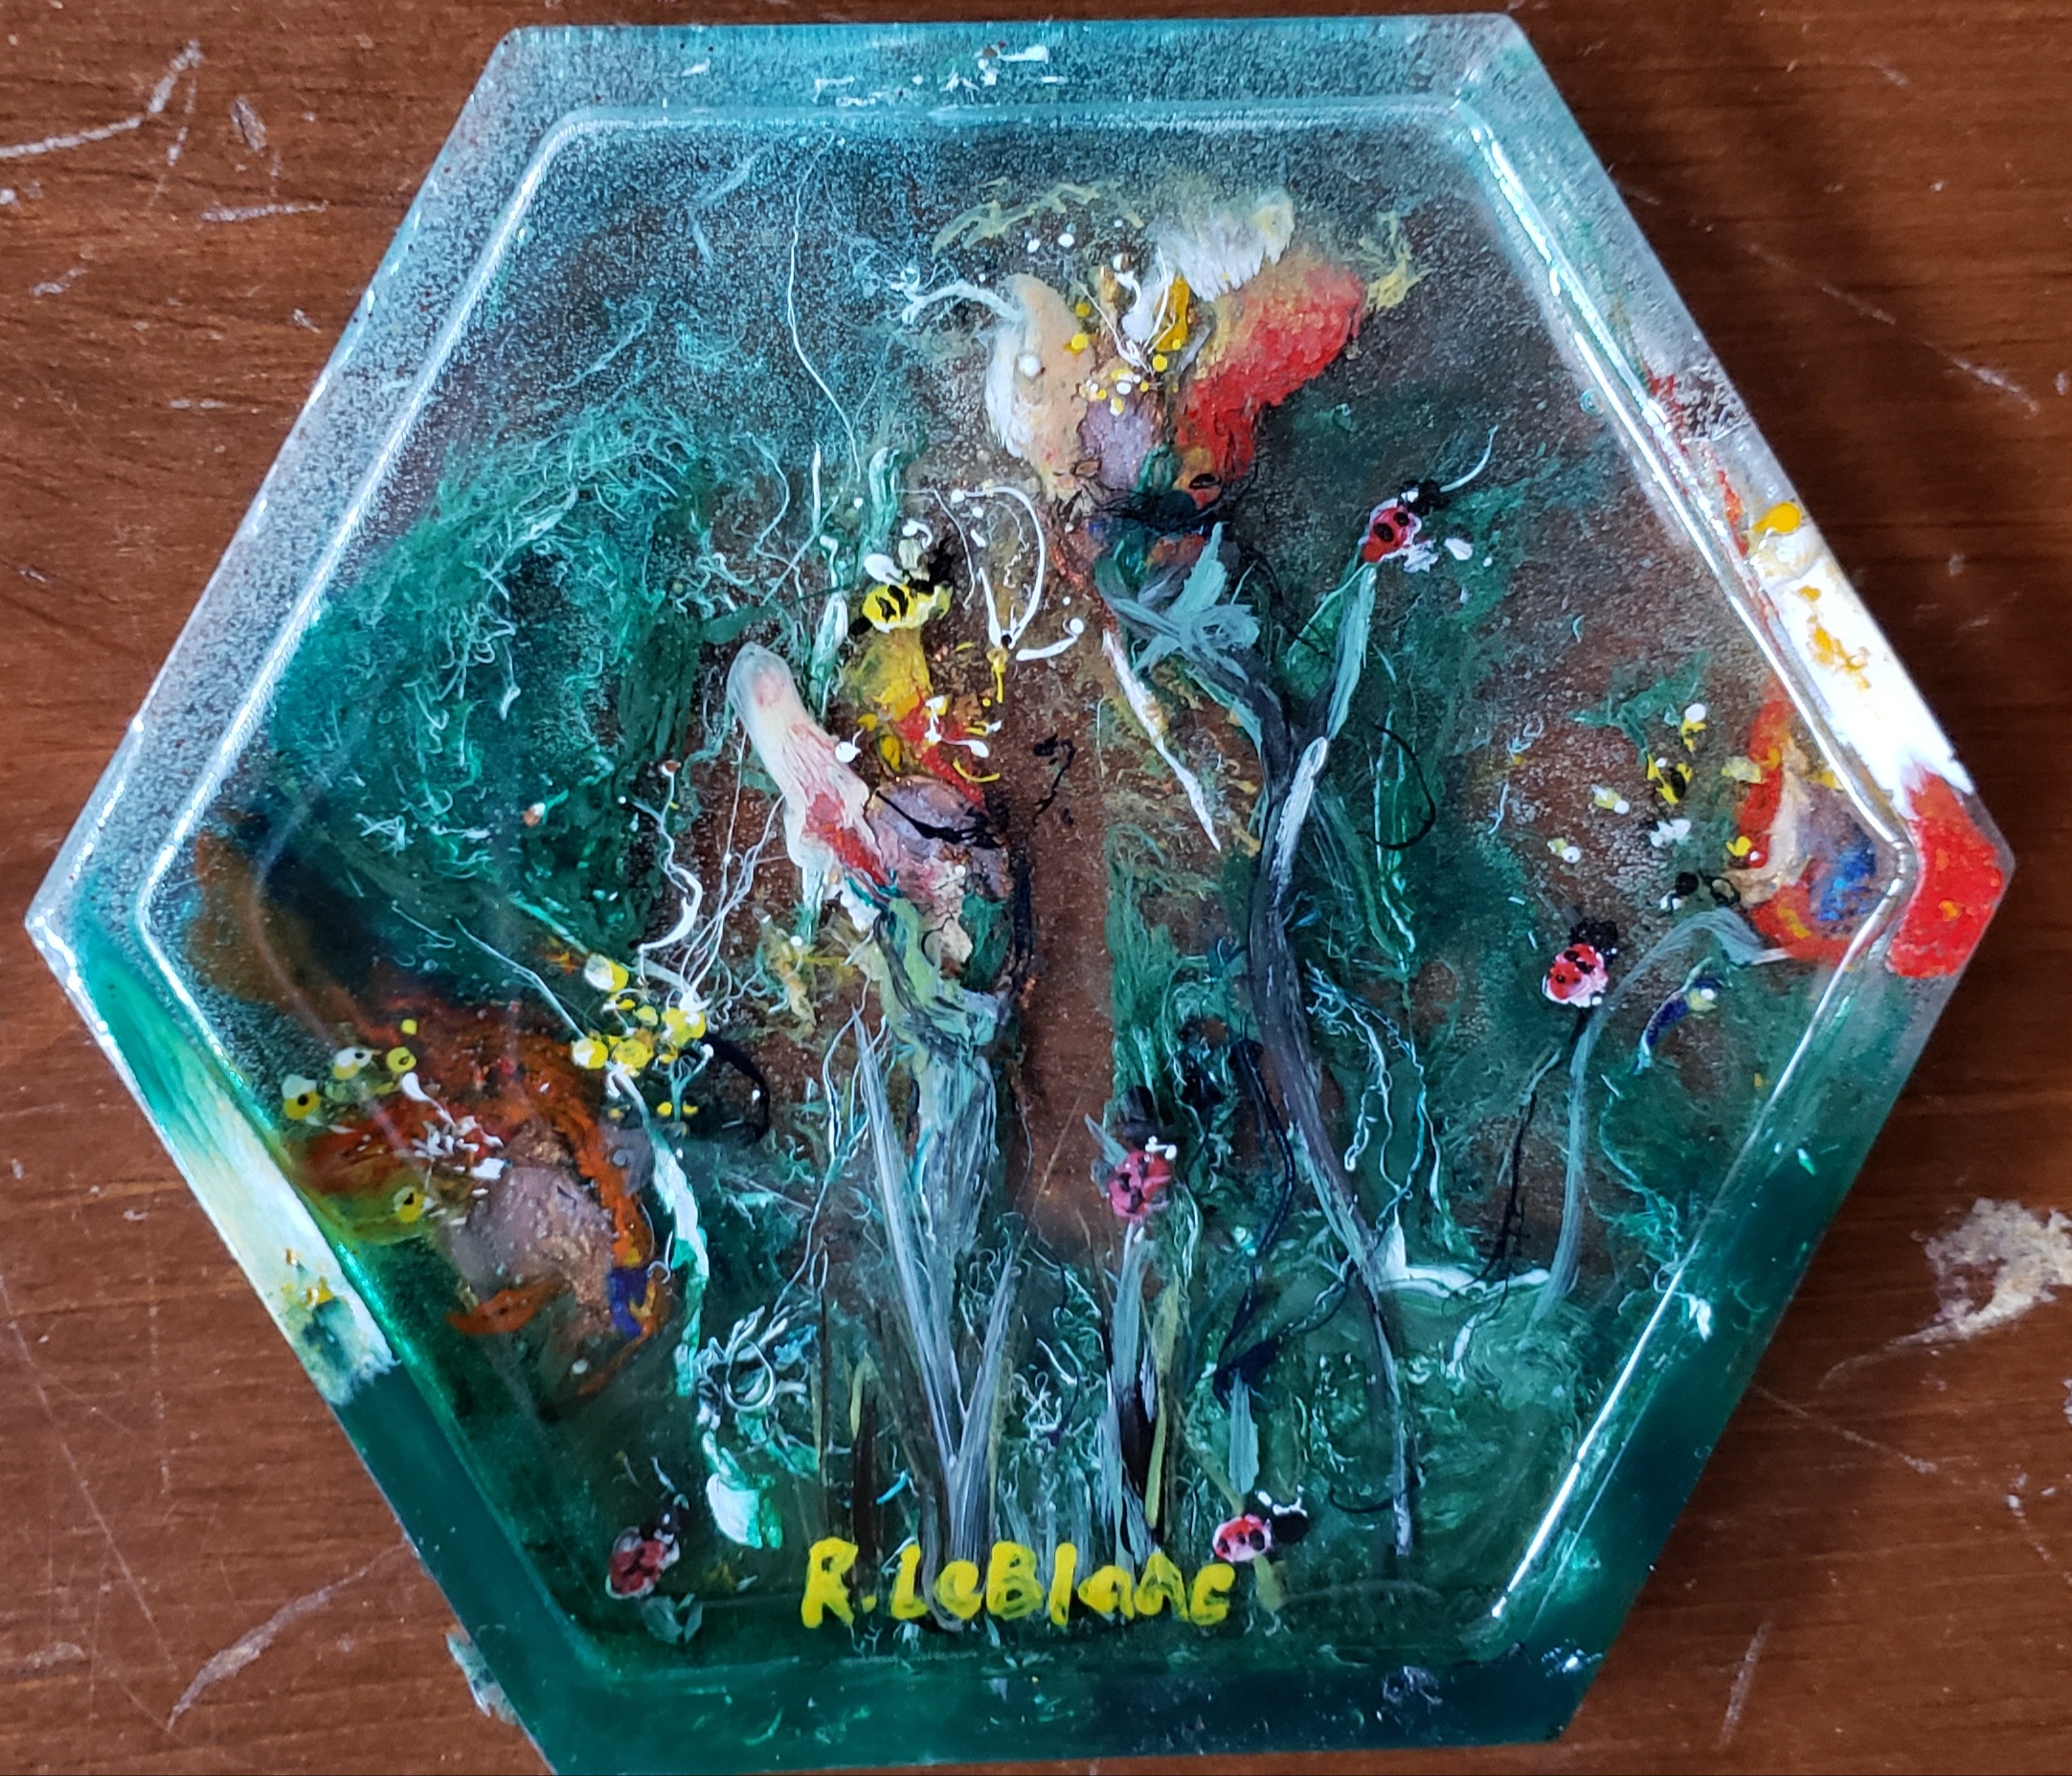
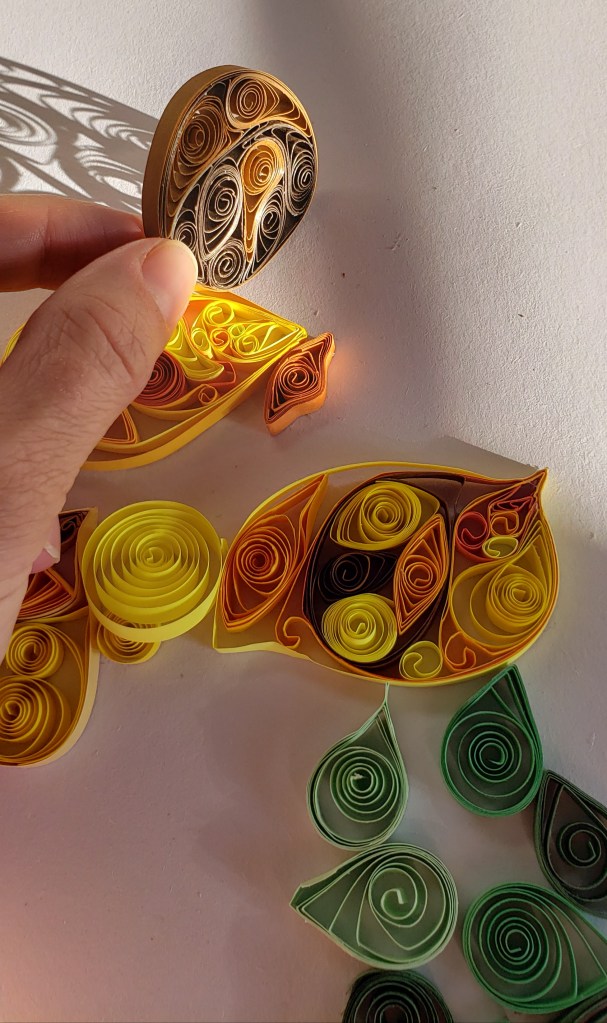
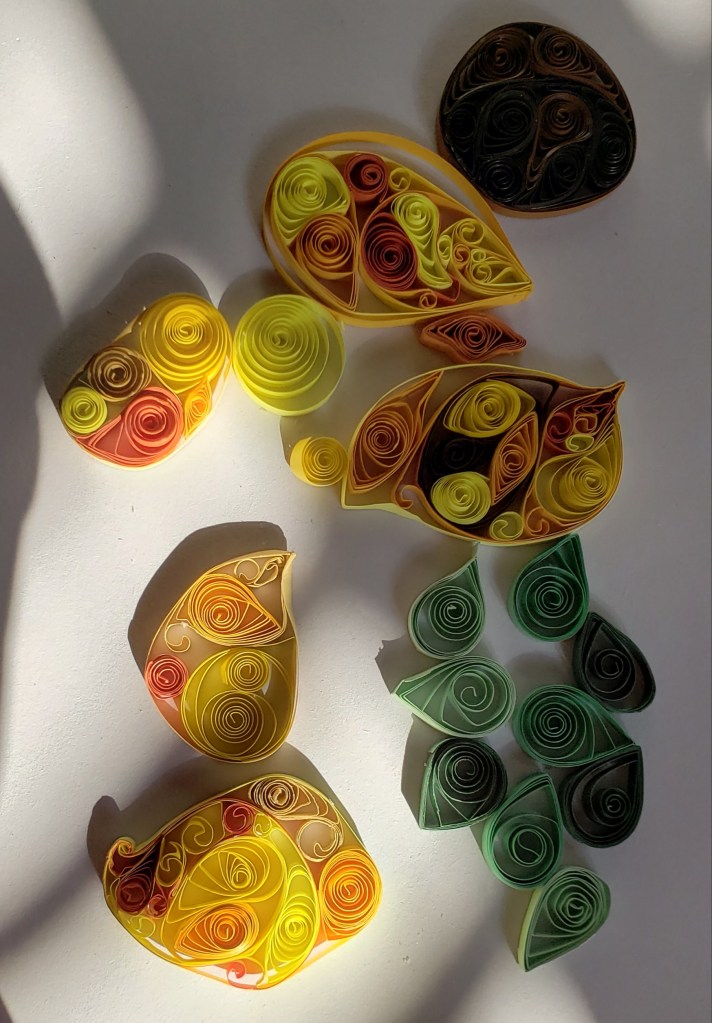
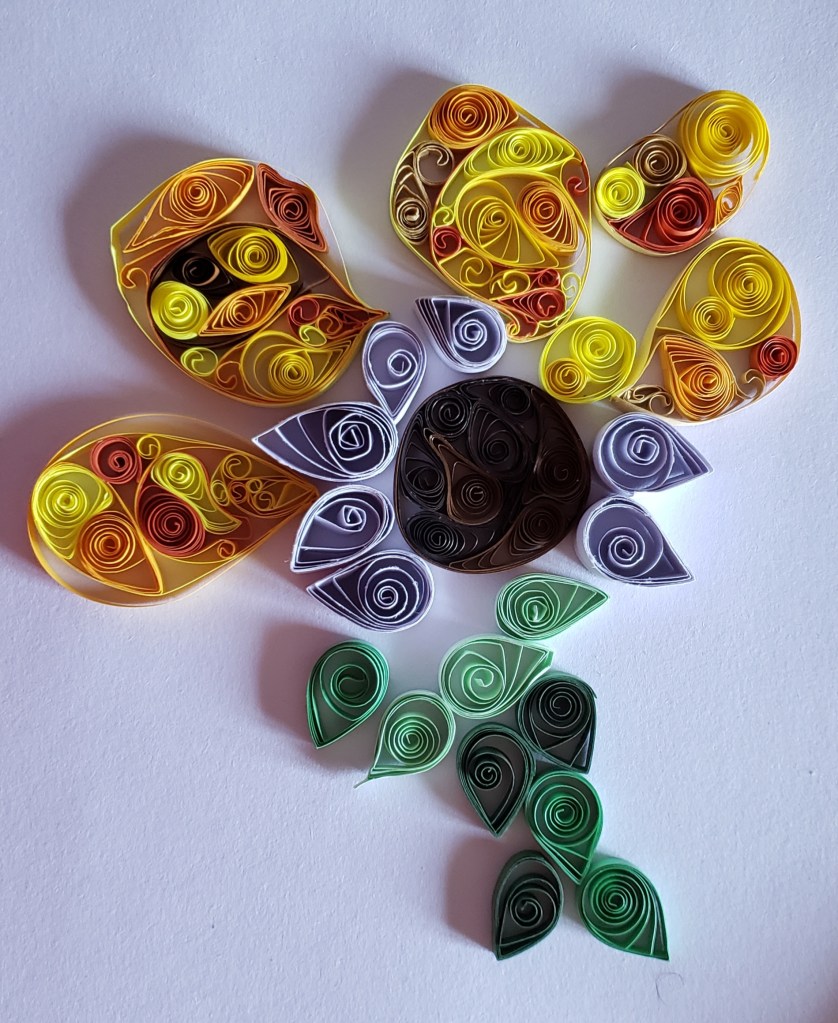
Quilling
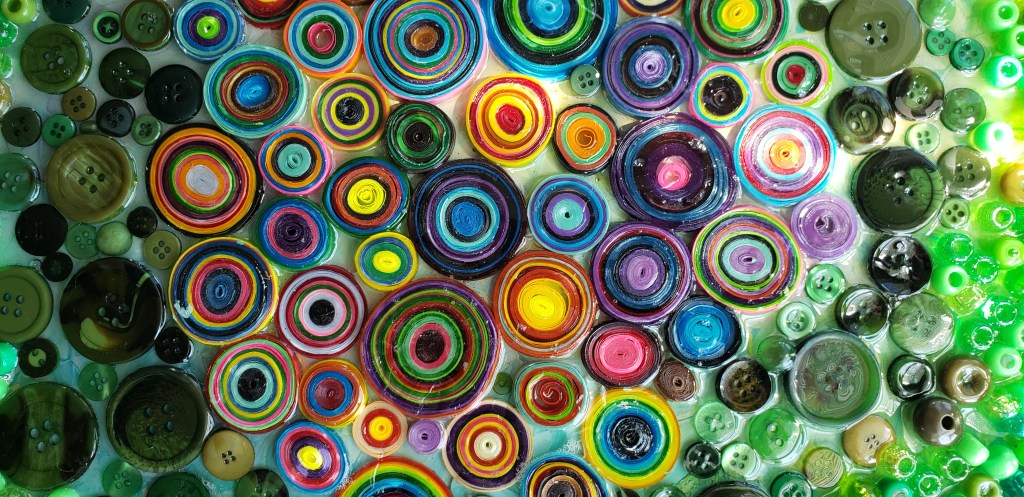
Paper quills and buttons sealed in epoxy. 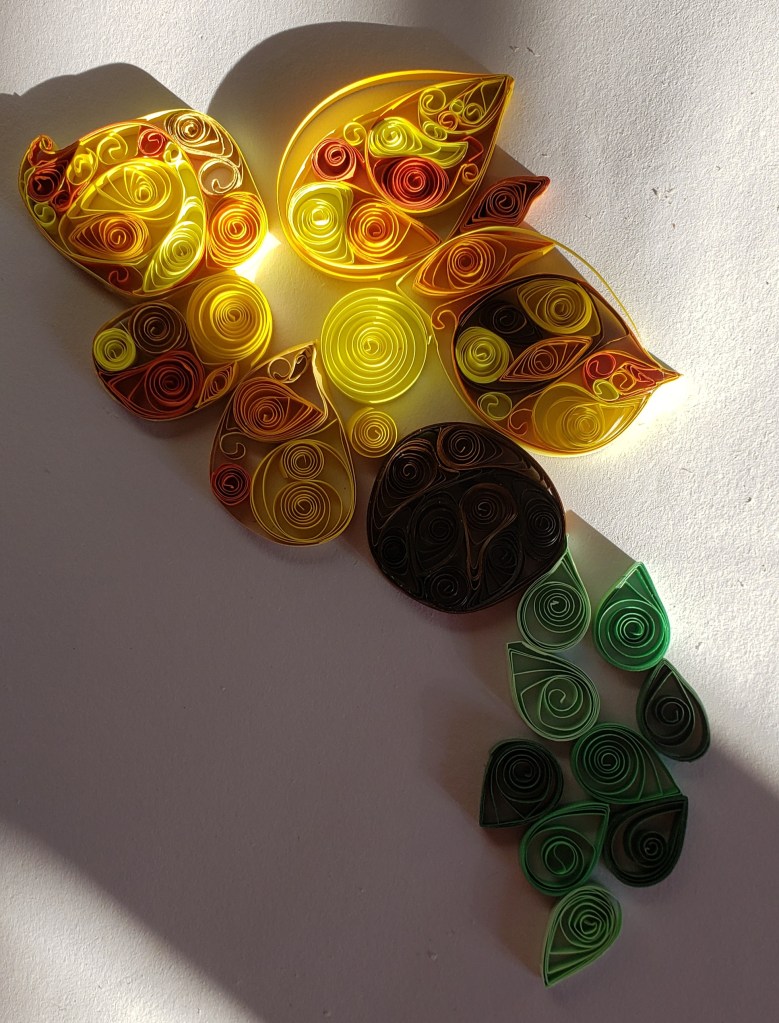

-
Subscribe
Subscribed
Already have a WordPress.com account? Log in now.
